AWS VPN Client Federated AuthN
Description
AWS Client VPN is a managed client-based VPN service that provides securely access AWS resources and resources. It supports identity federation with Security Assertion Markup Language 2.0 (SAML 2.0) for Client VPN endpoints.
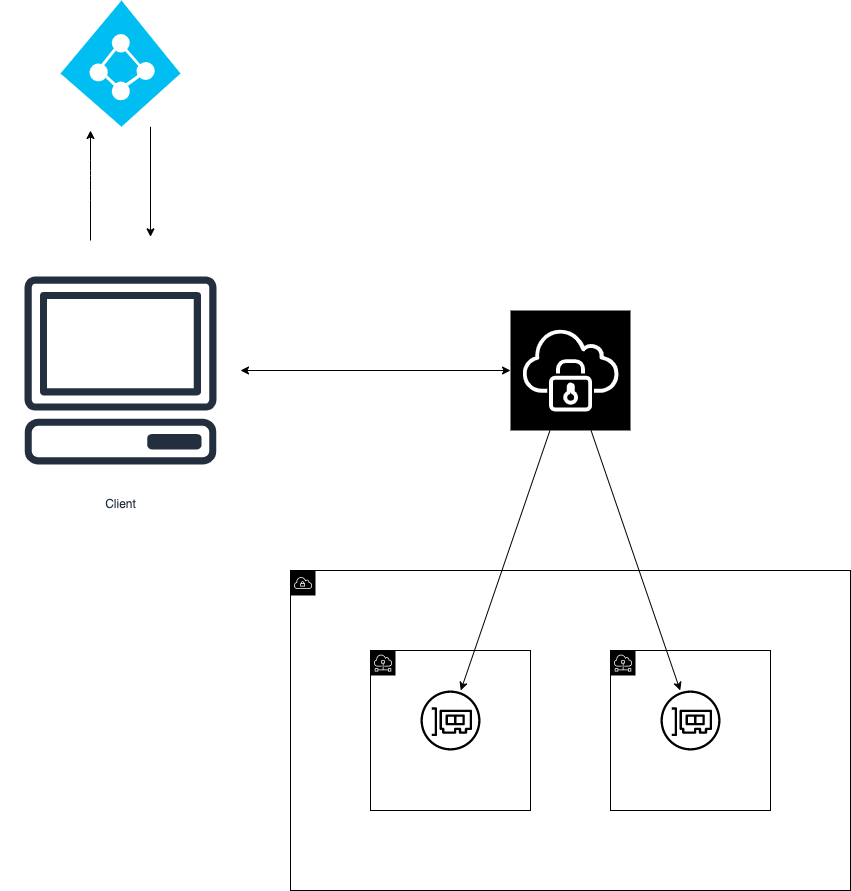
Lab Schema
Config - CA
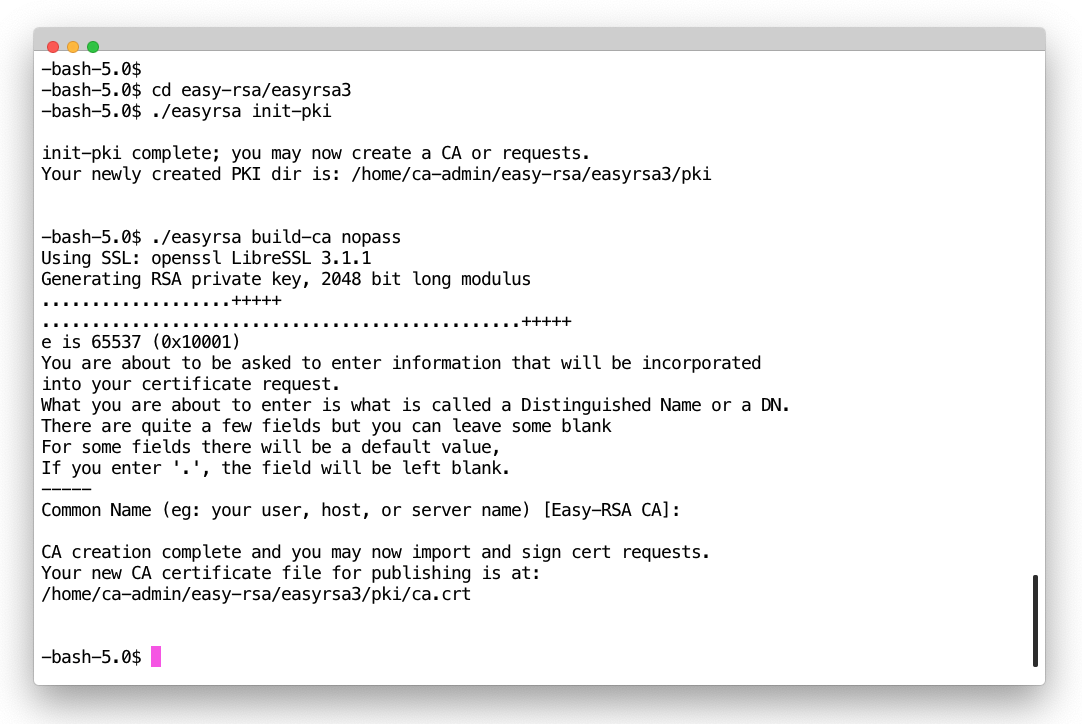
2. Initialise new PKI and create CA cert
$ cd easy-rsa/easyrsa3
$ ./easyrsa init-pki
$ ./easyrsa build-ca nopass
Config - AWS Certificate Manager
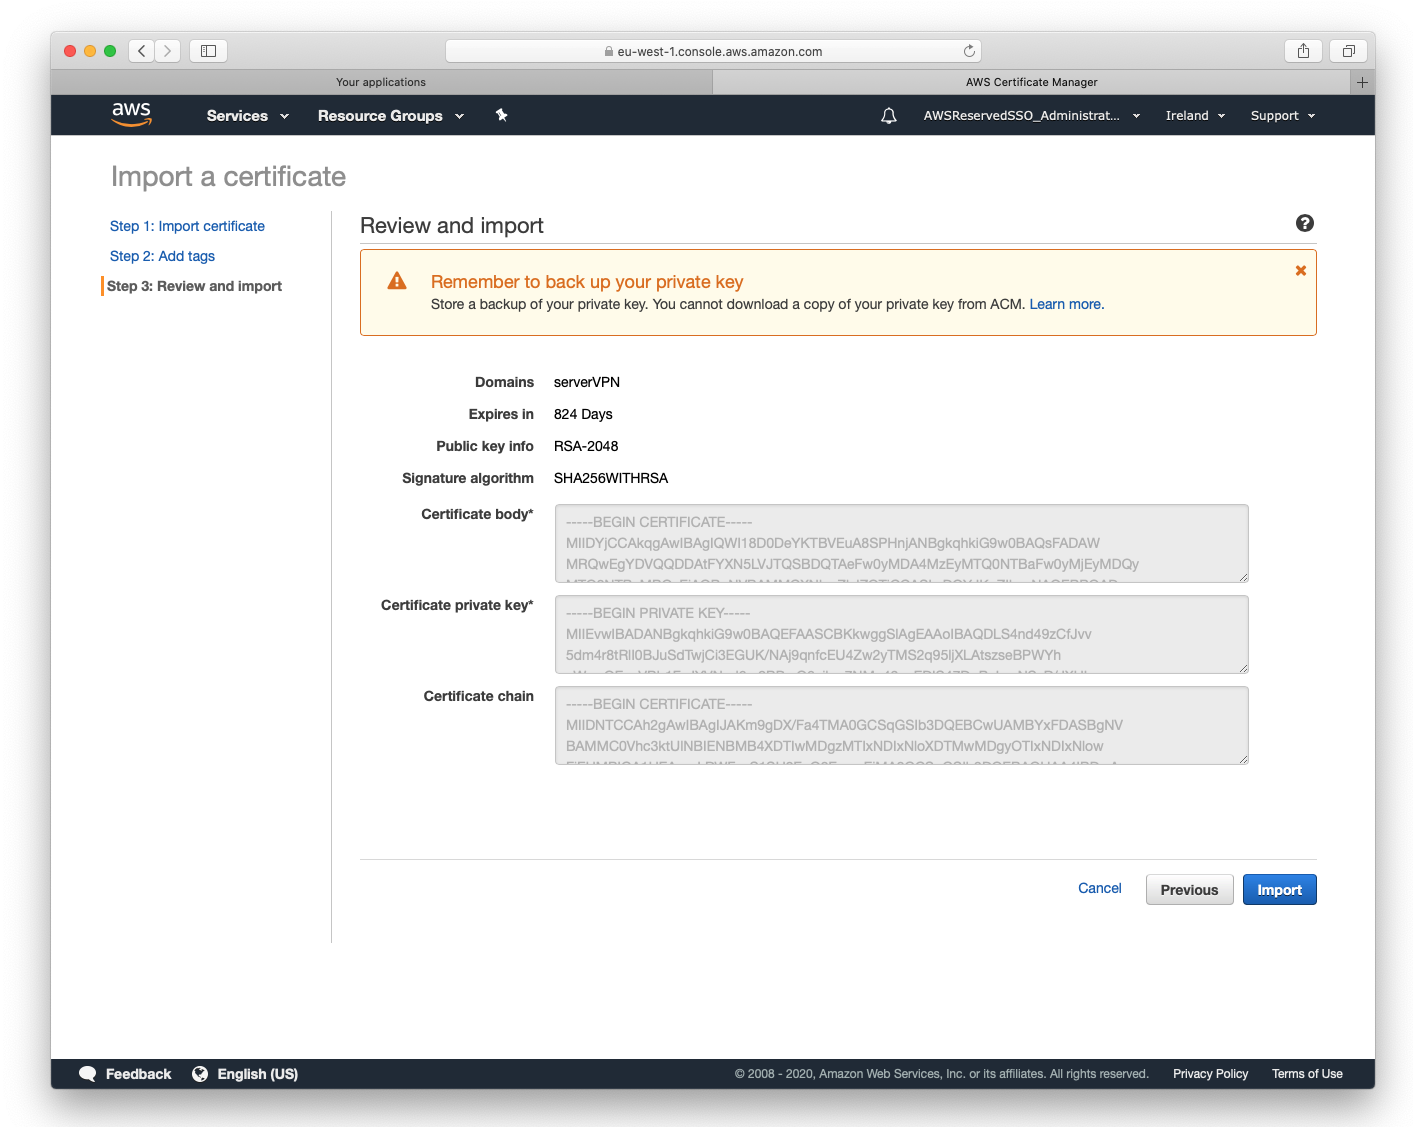
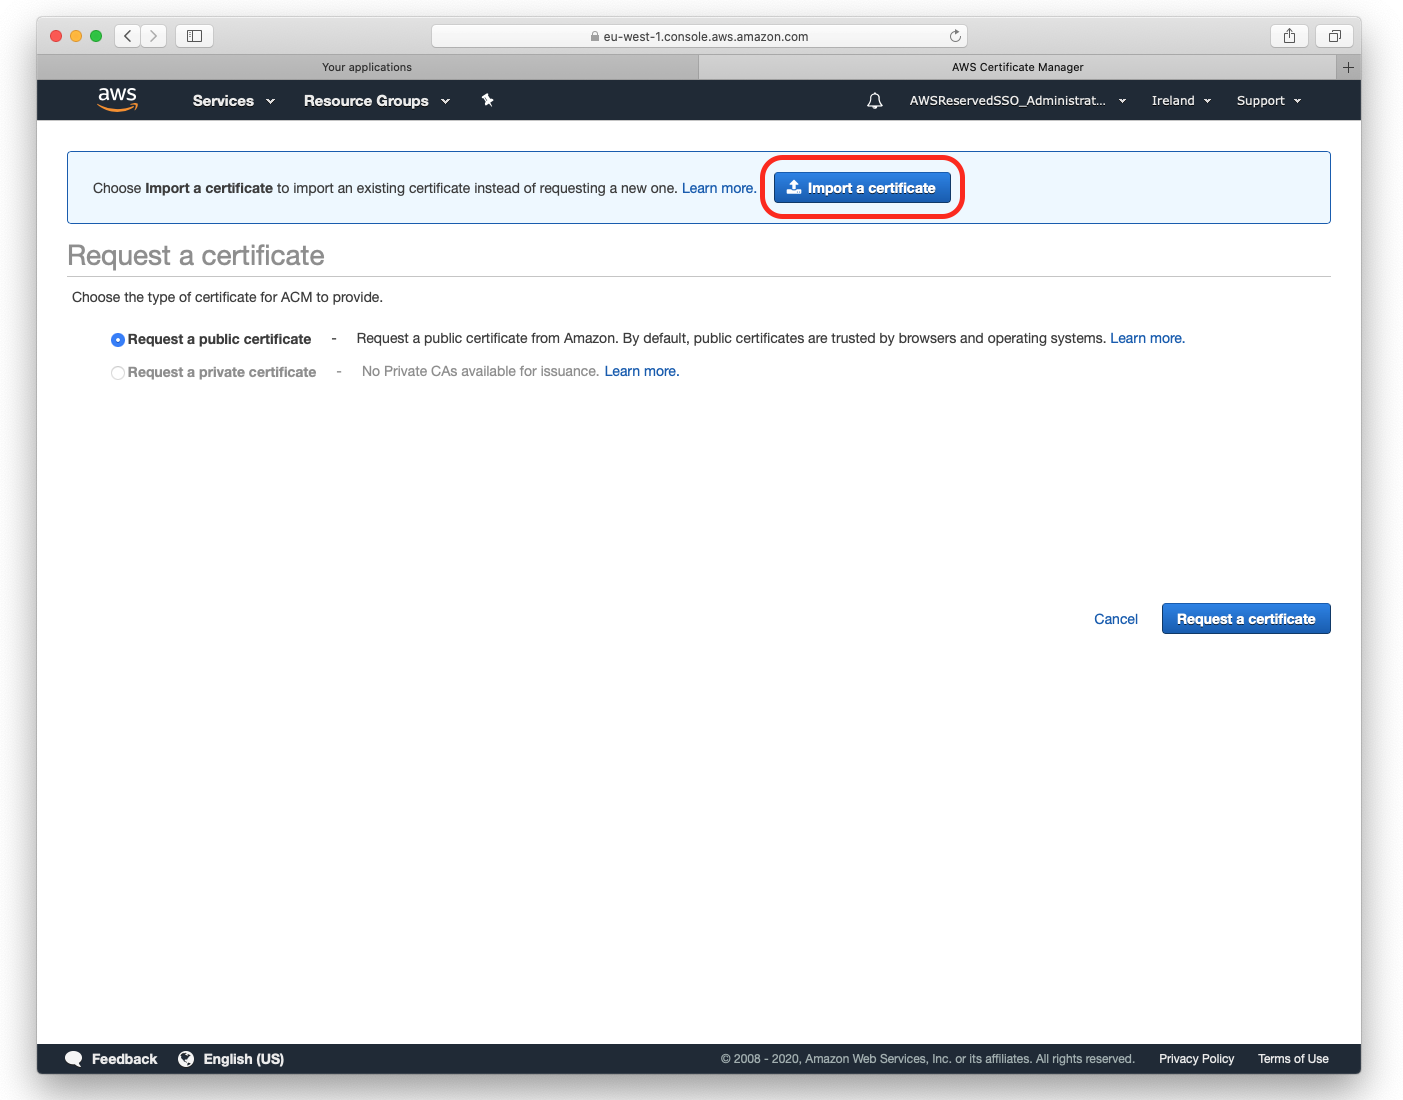
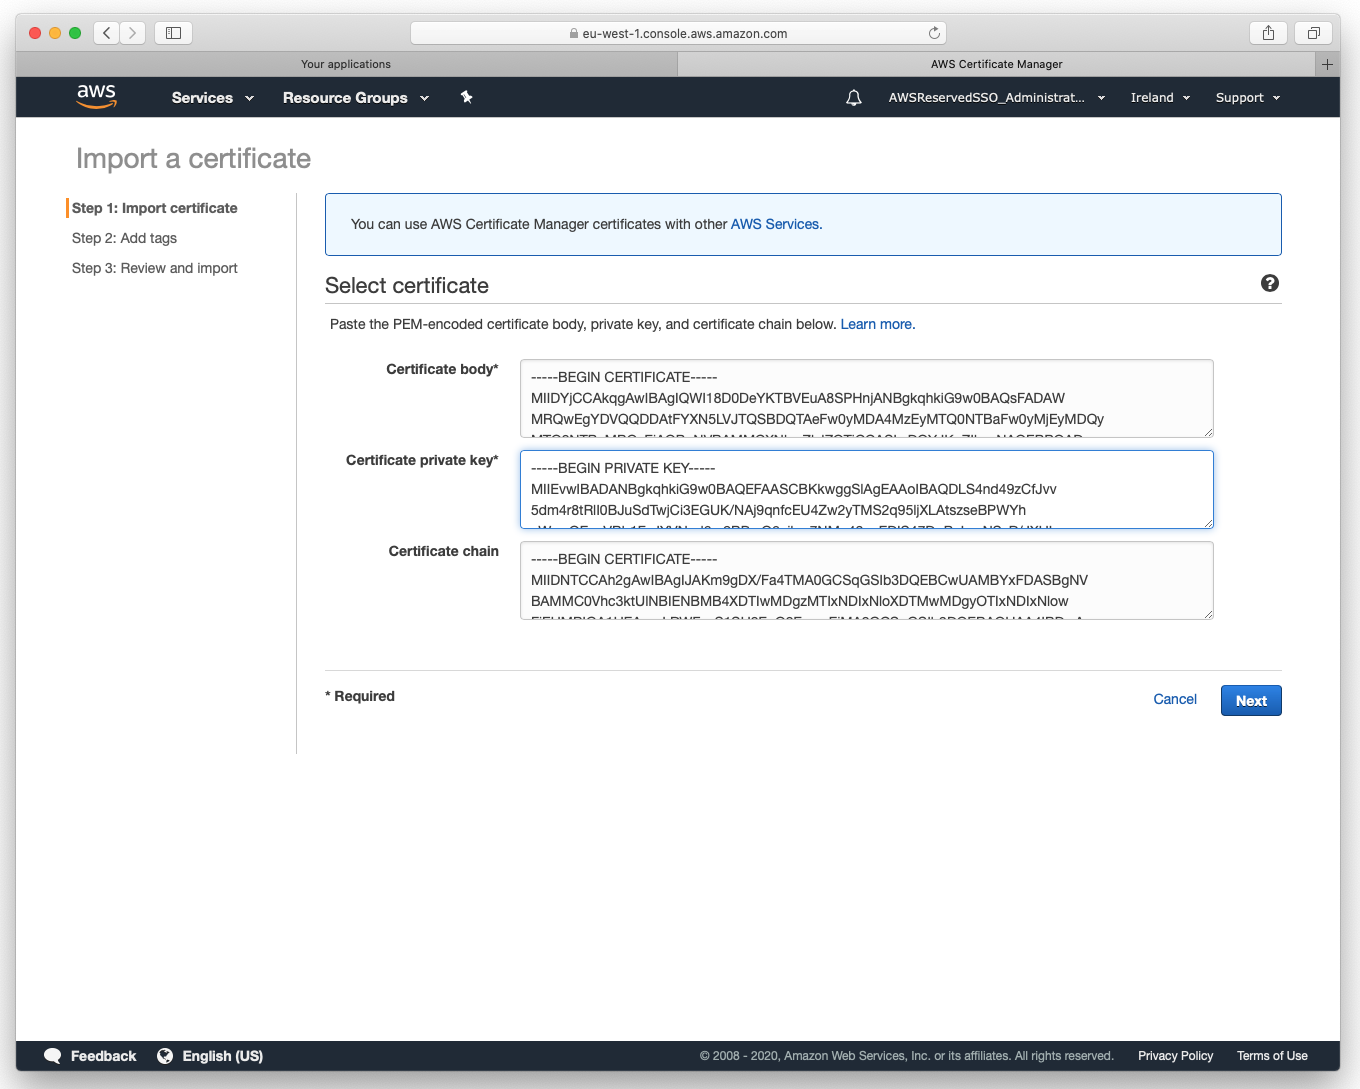
5. Certificate import
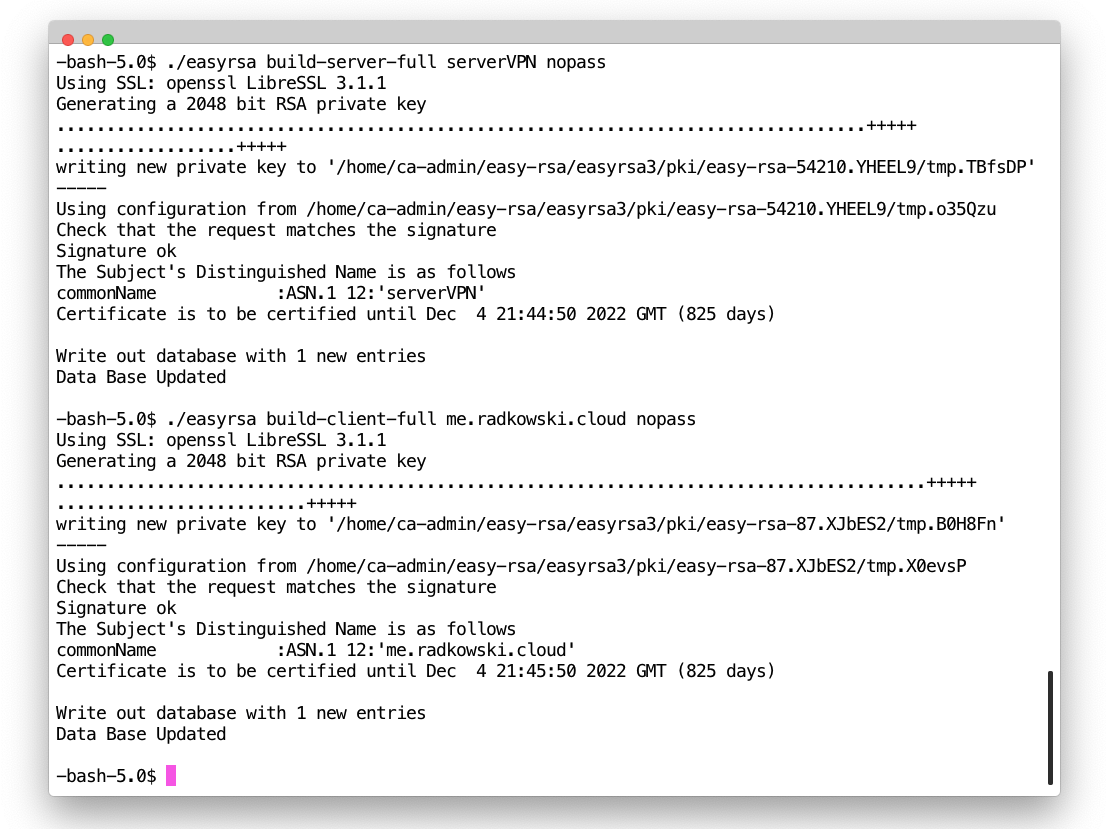
Import cert created in step #2:
- paste certificate located in issued directory into Certificate Body window
- paste key located in private directory into Certificate Private Key window
- paste ca.crt located in ./pki/ca.crt into Certificate Chain window
Config - AzureAD
6. Create Enterprise Application (#1)
Log into Azure Portal. Select Azure Active Directory -> Enterprise Applications.
Click Add New Application, then search for AWS ClientVPN
7. Create Enterprise Application (#2)
Enter friendly name for Enterprise Application, then click Create
10. Configure SSO (#3)
Edit Basic SAML Configuration, by entering followed values:
Reply URL
http://127.0.0.1:35001https://self-service.clientvpn.amazonaws.com/api/auth/sso/saml
Sign on URL
https://127.0.0.1:35001
11. Configure SSO (#4)
Update User Attributes and Claims by adding following claim:
Claim name: memberOf
Claim value: user:groups
13. Configure SSO (#6)
Update SAML Signing Certificate values:
Signing Option: Sign SAML response and assertion
Signing Algorithm: SHA-256
15. Federation Metadata file
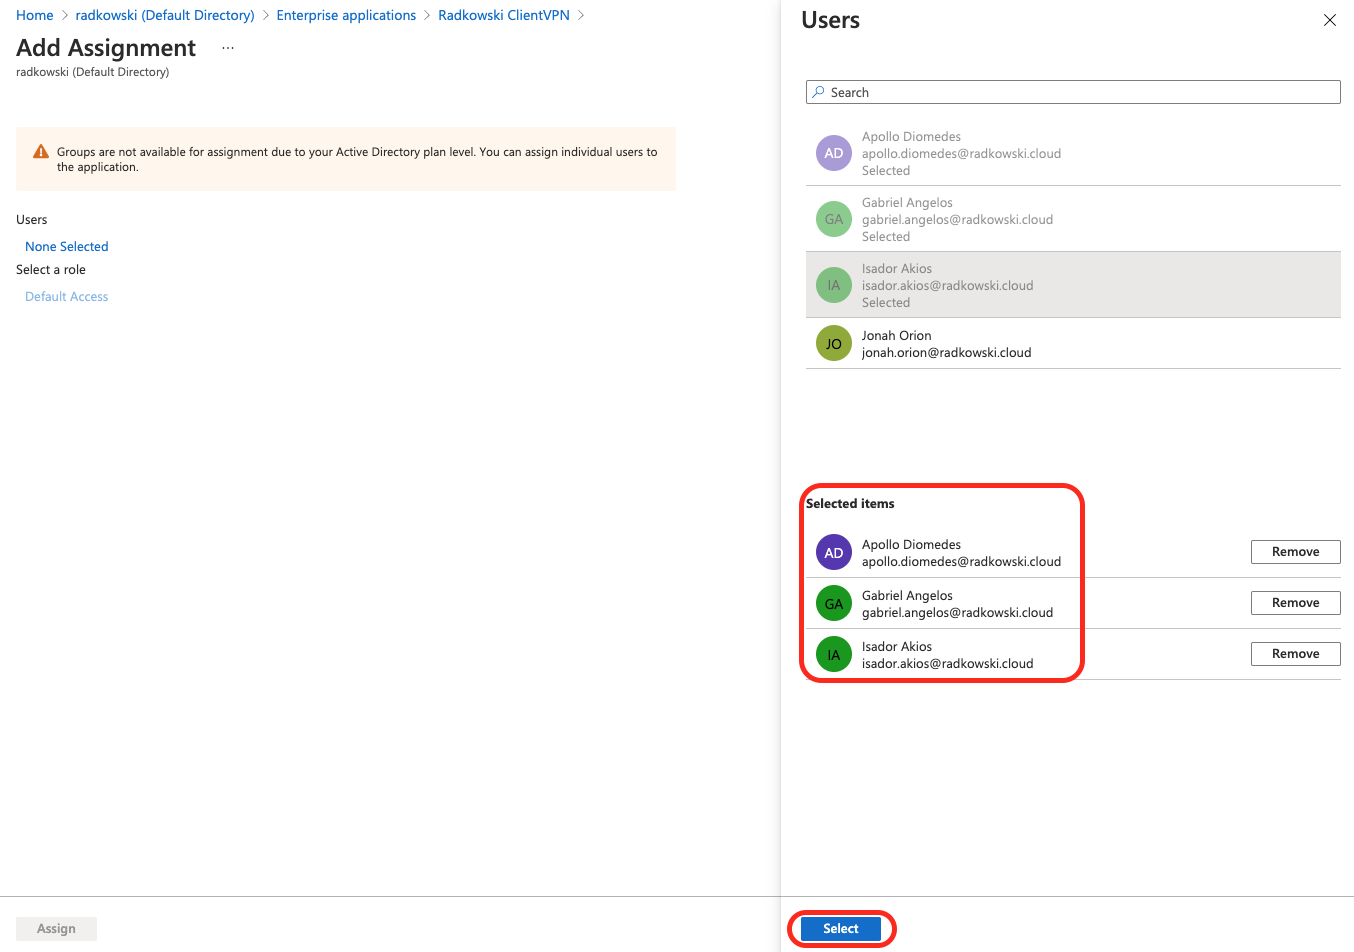
Select Add Assignment and add users to Enterprise Application.
Above users will be able to authenticate via AzureAD
Config - AWS IAM
17. IAM Identity Provider (#2)
Select SAML as Provider Type. Upload XLM file previously downloaded in step #14
Config - AWS VPN Client
18. AWS VPN Client (#1)
Go to AWS Console -> VPC. Select Create VPN Endpoint
Select user-based authentication -> Federated authentication
For both SAML/Self Service SAML Provider ARN select IdP created in step #17
19. AWS VPN Client (#2)
Configure Other Optional Parameters:
- enable split-tunnel
- define destination VPC
- enable Self-Service Portal
22. Self Service Portal (#1)
It may take up to 5 mins to VPC Endpoint to be in Available State.
Select Summary Tab and copy Self-Service Portal URL
26. Self Service Portal (#5)
Use Self-Support Portal to:
- download VPN client (1)
- download VPN config (2)
Test Area
28. Connection Test
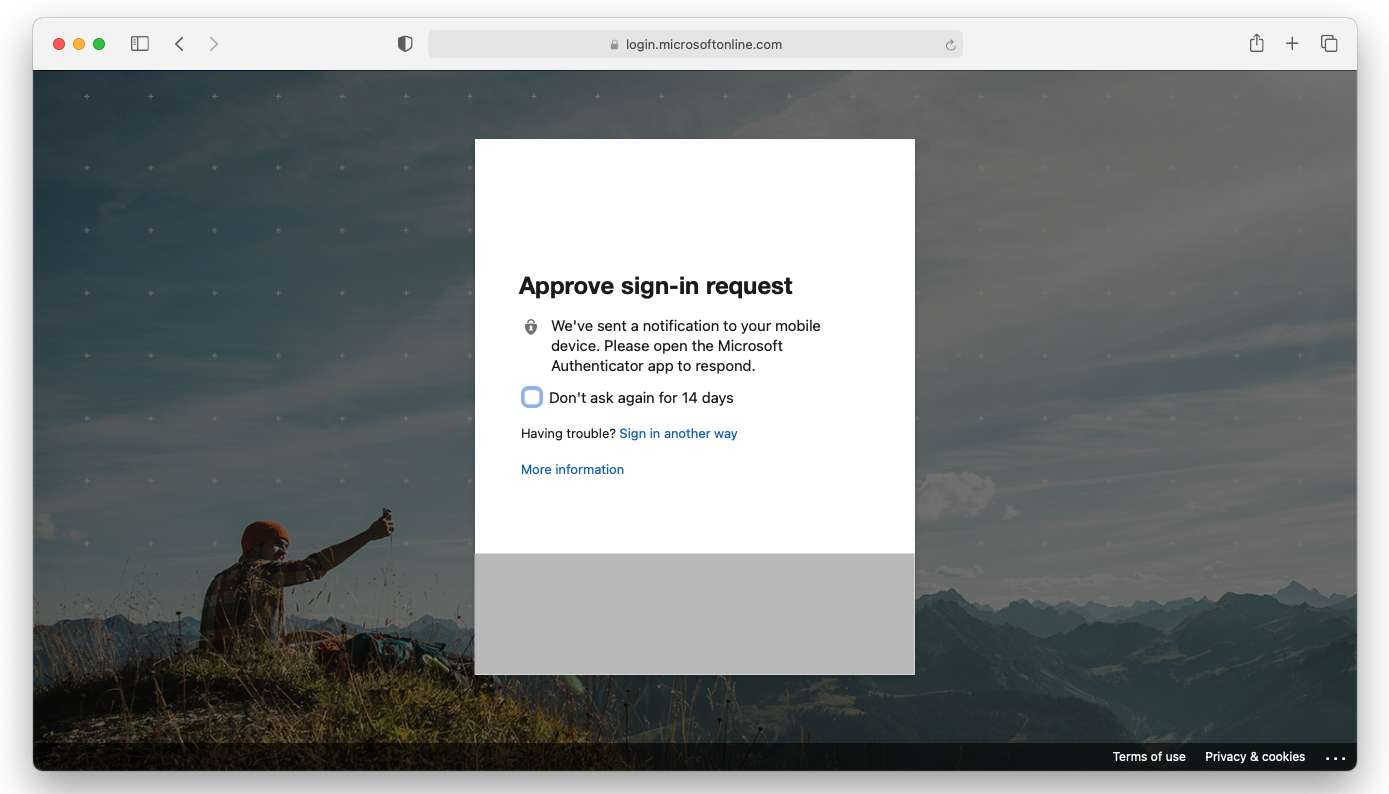
Press Connect to establish VPN connection. Client will redirect you to AzureAD or will connect directly (depends if you are already authenticated or not)

