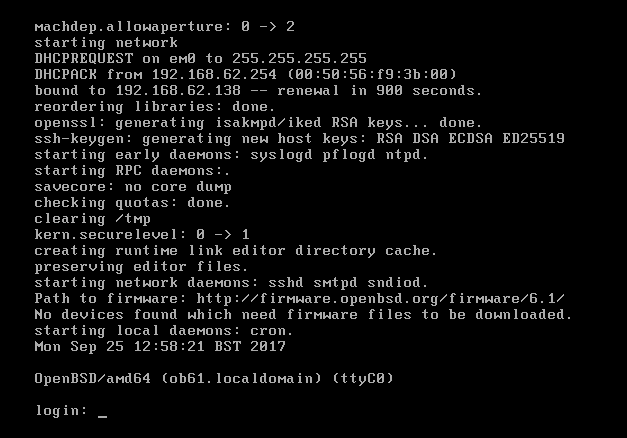
OpenBSD Installation
Description
The OpenBSD project produces a FREE, multi-platform 4.4BSD-based UNIX-like operating system. Our efforts emphasize portability, standardization, correctness, proactive security and integrated cryptography. As an example of the effect OpenBSD has, the popular OpenSSH software comes from OpenBSD.
Configs
- Download installation iso from one of the mirror stes
- Boot from iso, when installer start, choose I(nstall)

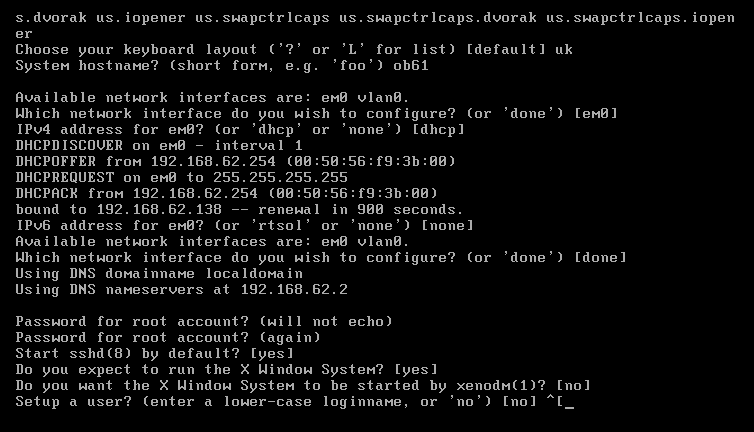
3. Choose your keyboard layout. Press L to see available options
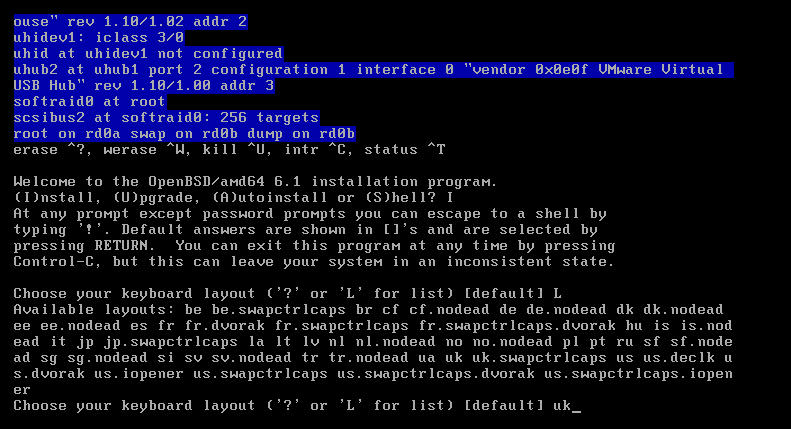
4. Enter System hostname (don't enter FQDN)
5. Choose network interface you want to configure (instalator shows you available options)
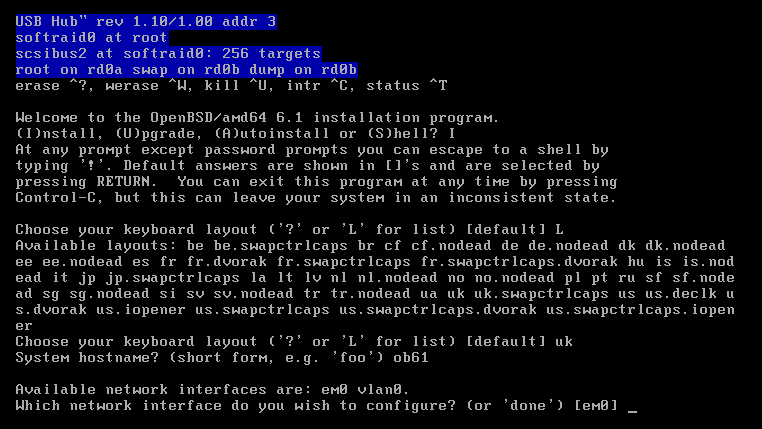
6. Define IPv4 configuration for selected interface. You can choose:
- Static IP (enter IP directly)
- Dynamic IP (enter dhcp)
- Leave interface unconfigured (none)
7. Define IPv6 configuration for selected interface. You can choose:
- Static IP (enter IP directly)
- Discover router on the same link and use autoconfiguration (rtsol)
- Leave interface unconfigured (none)
8. Enter domainname(when you use dhcp, it will be configured automaticaly)
9. Enter DNS servers (when you use dhcp, it will be configured automaticaly)
10. Set root password
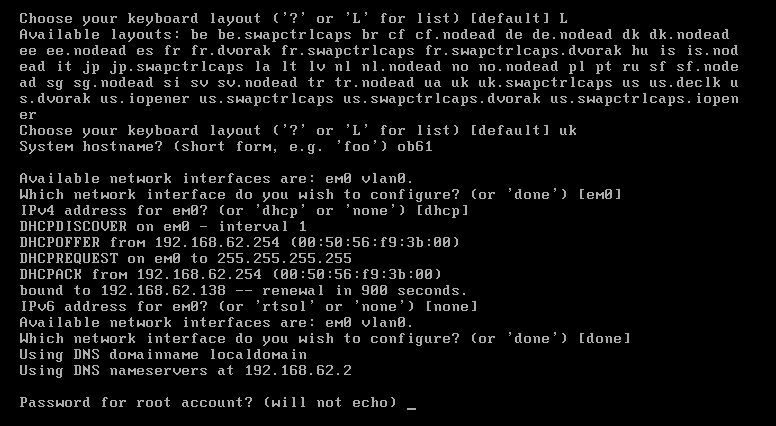
11. Choose, if ssh service will start when system boots
12. Decide, if you want to use X Window System (graphics environment)
13. Create user (this step is optional, you can do it anytime after installation)
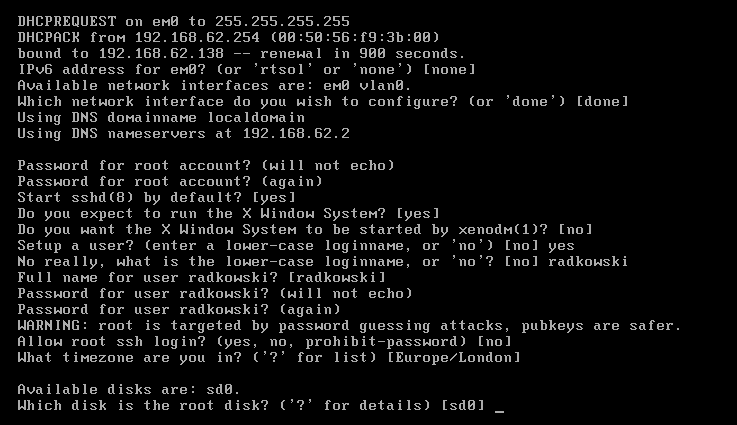
14. Decide, if/how root should be able to log into system via ssh:
- YES: root will be able to use any authentication method, including login/password
- PROHIOBIT-PASSWORD: root will not be able to use any interactive athentication method (login/password is baned; PKI, GSSAPI etc are allowed)
- NO: root will not be able to log into system via ssh
15. Define your timezone (enter ? to see available options)
16. Select disk (root) you want to install system into (enter ? to see extra details about all available and visible disks)
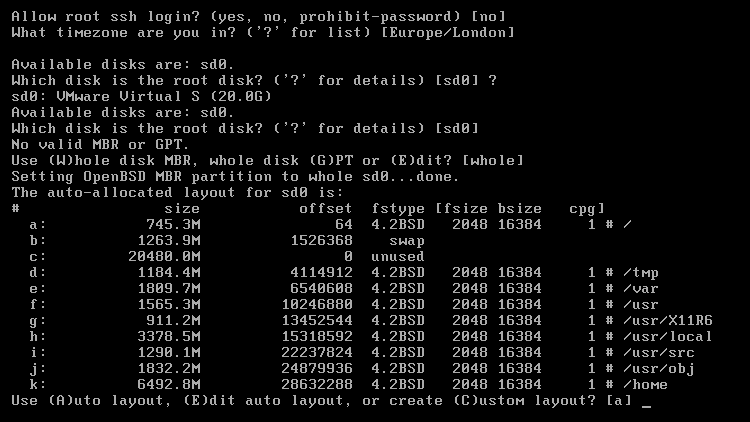
16. Decide what type of partitions will be created
- MBR: standard type of partitions
- GPT: is a newer type that’s gradually replacing MBR
The fdisk(8) man page contains the details.
17. Review/create layout proposed by installer:
- (A)uto: accept proposed configurtaion
- (E)dit: edit proposed configuration
- (C)ustom: create configuration from the scratch
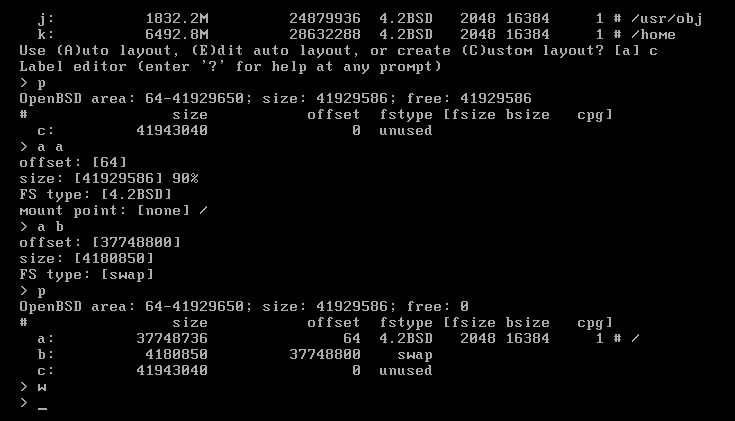
18. (Optional) Create custom layout:
- press C for Custom
- enter p for print current state (whole free space will be visible as c partition)
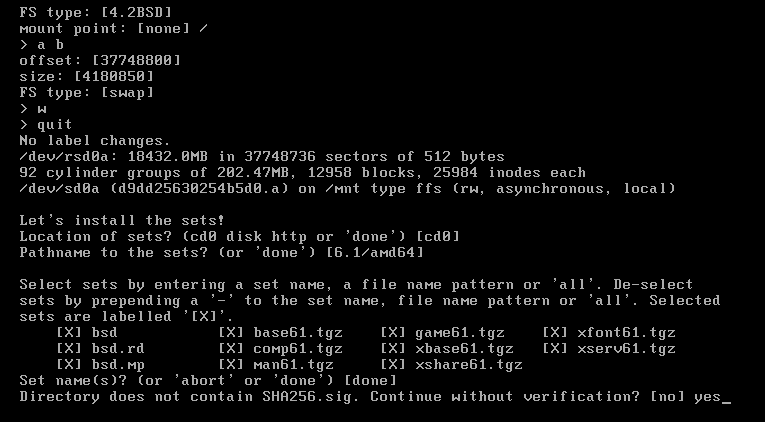
- enter a a for adding a root partition "a"
- confirm offset, set size (percentage value can be used), type and mount point
- enter a b for adding swap partition "b"
- confirm offset, size and type
- enter p to print layout after configuration
- use w to write configuration
19. Enter location of sets:
- cd: cd/dvd
- disk: additional disk connected to system
- http: remote location accessible via http
20. Confirm path to the sets
21. Select sets using names. Extra words/letters can be used: (a/all for all sets). Deselect set(s) by using "-" in font of set name.
22. Enter done to confirm set selection
23. If previously selected sets are not signed, installation without verification must be confirmed.
24. After installing all sets, extra set source can be added (to continue enter done).
25. Confirm/set proper system time
26. Congratulations, system has been installed. Enter reboot to restart it
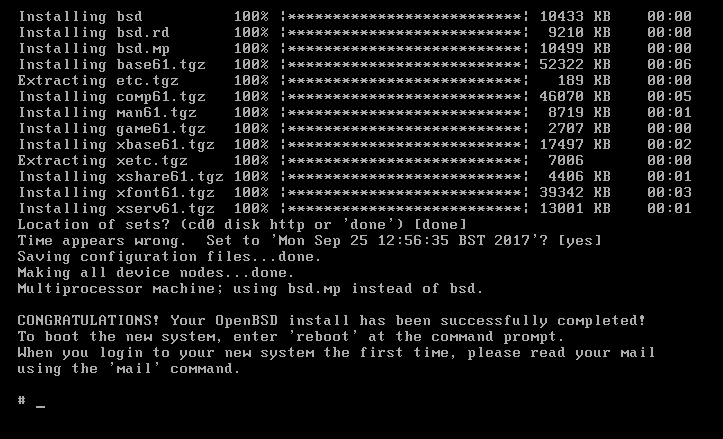
Your freshly installed system is ready for work !
