AWS SSO integrated programattic access
Description
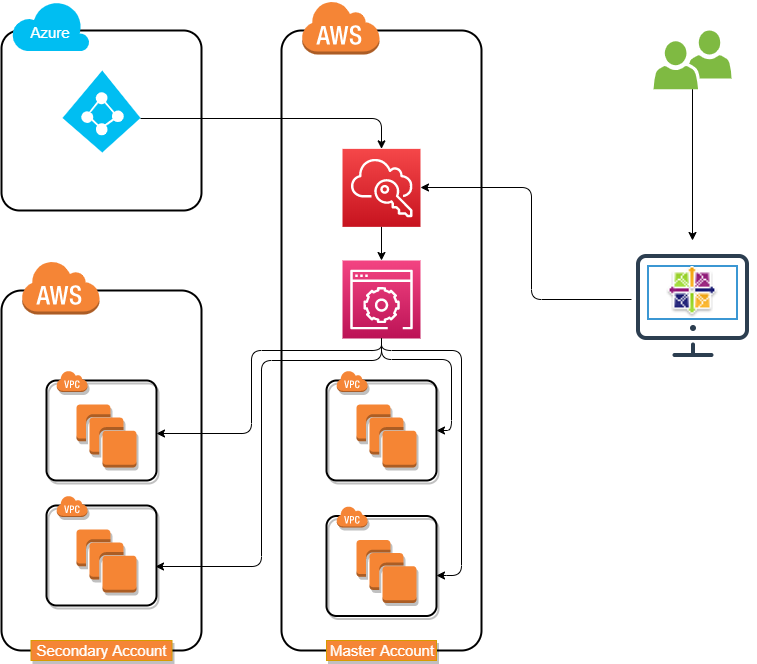
Programmatic access allows to invoke actions on your AWS resources either through an application or through a third-party tool. Following lab shows how to integrate it with AWS SSO, Azure SSO using AWS CLI version 2.
Lab Schema
Preconfiguration
Another configuration must be prepared before you will continue. Click button on the right to jump into AWS SSO and Azure SSO integration
Configs
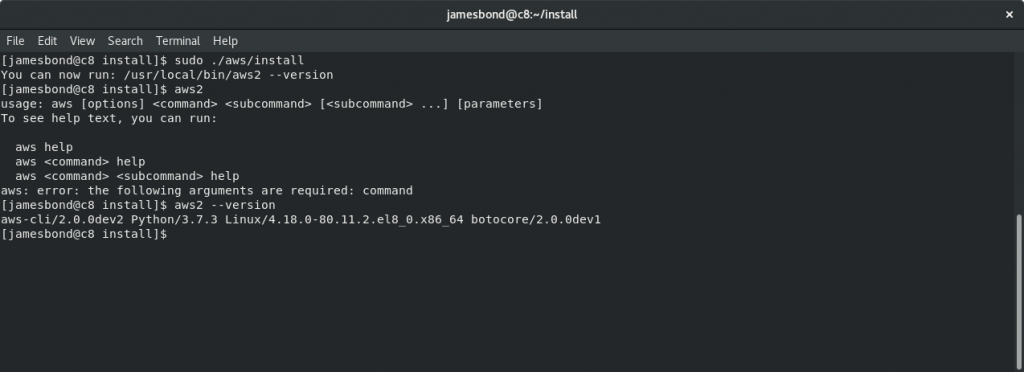
1. Install AWS CLI version 2
Use following link to download awscliv2 package: Installing the AWS CLI v2.
Check installing version using aws2 --version command
2. AWS CLI v2 SSO config (1)
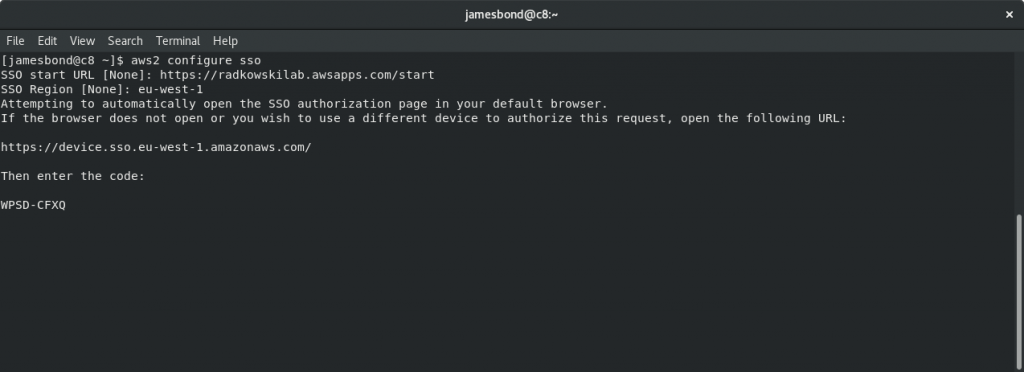
To configure SSO, execute following command: aws2 configure sso
Then enter SSO Start URL ans SSO Region.
If browser will not open automaticaly, open browser and copy displayed URL, manually
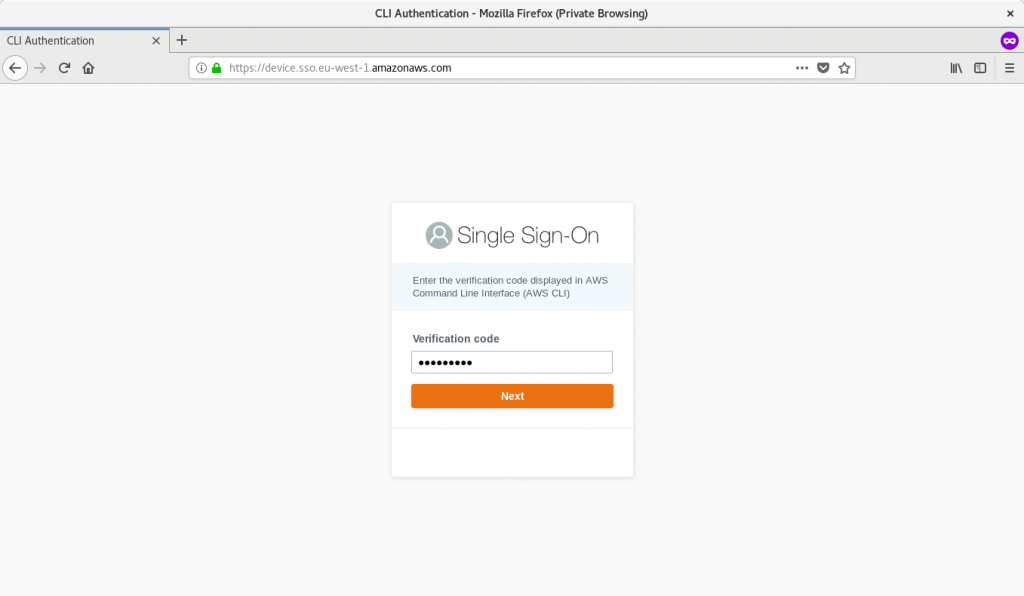
3. AWS CLI v2 SSO config (2)
Go to previoulsy open page and copy Verification code from the terminal. Click Next to continue
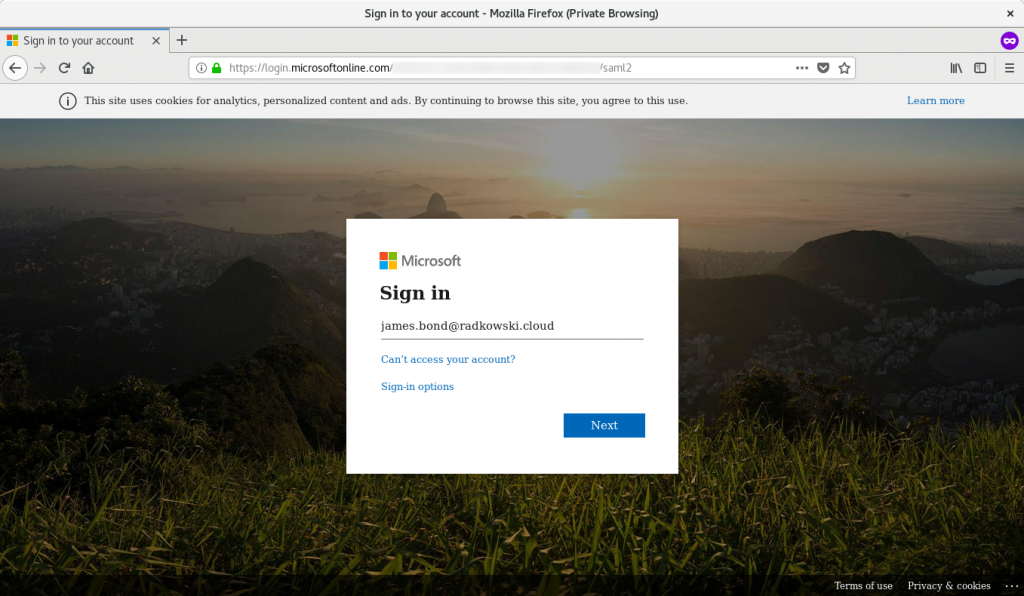
4. SSO Sign in (1)
You will be redirected into MIcrosoft page. Enter your user name/email and password
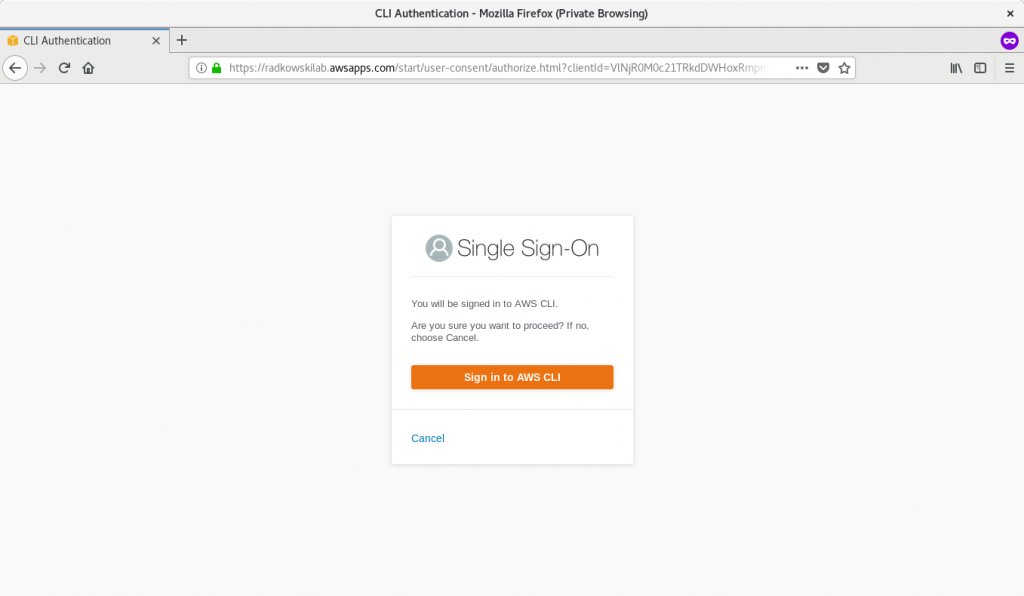
5. SSO Sign in (2)
To proceed, click Sign in to AWS CLI
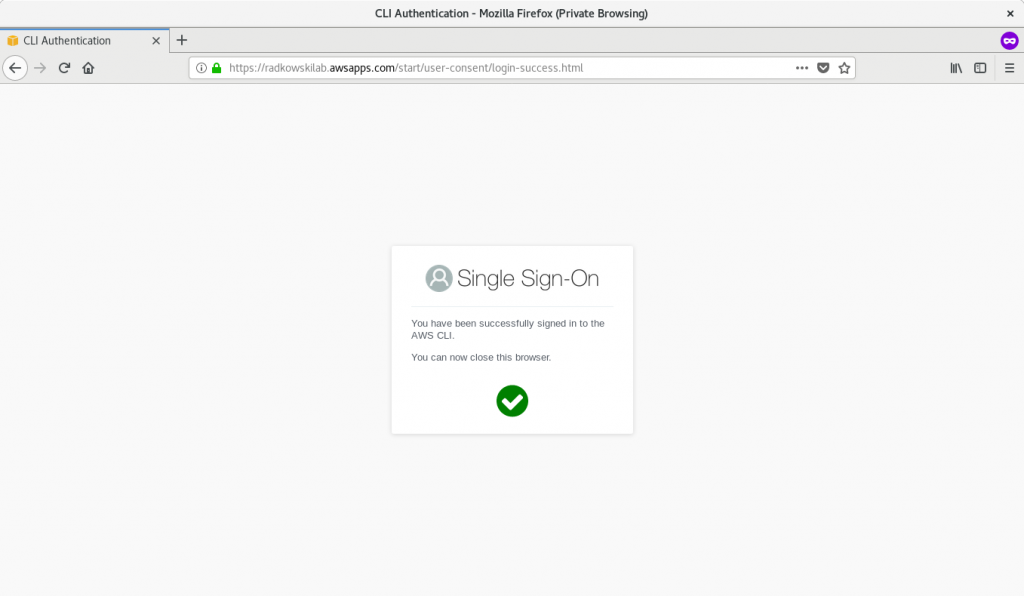
6. SSO Sign in (3)
Once process will be finished, yo can close browser and come back to terminal
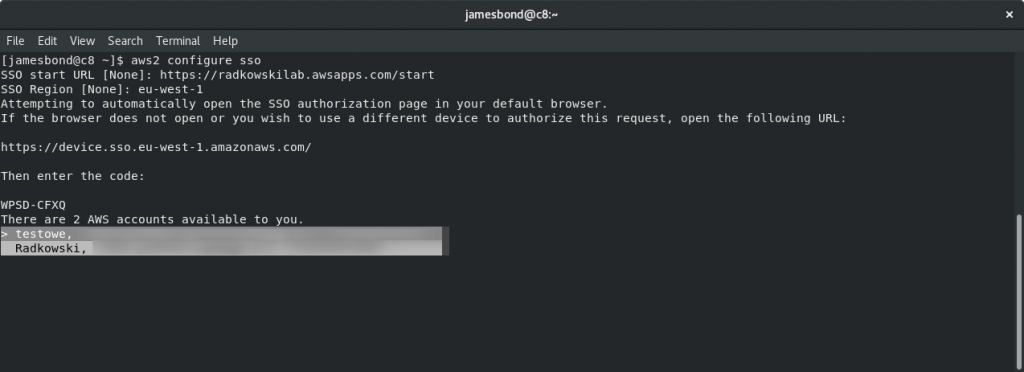
7. Account selection
Use arrows to select AWS account you want to sign in. Once ready, confirm using Enter
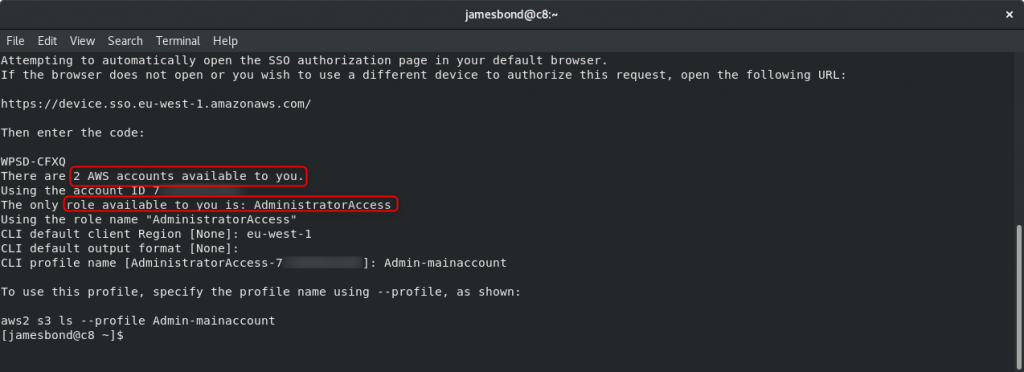
8. Role selection
CLI will list all roles assigned to your user for previously selected AWS account. Confirm/enter CLI client Region, output format and profile name
Test Area
9. Check access (1)
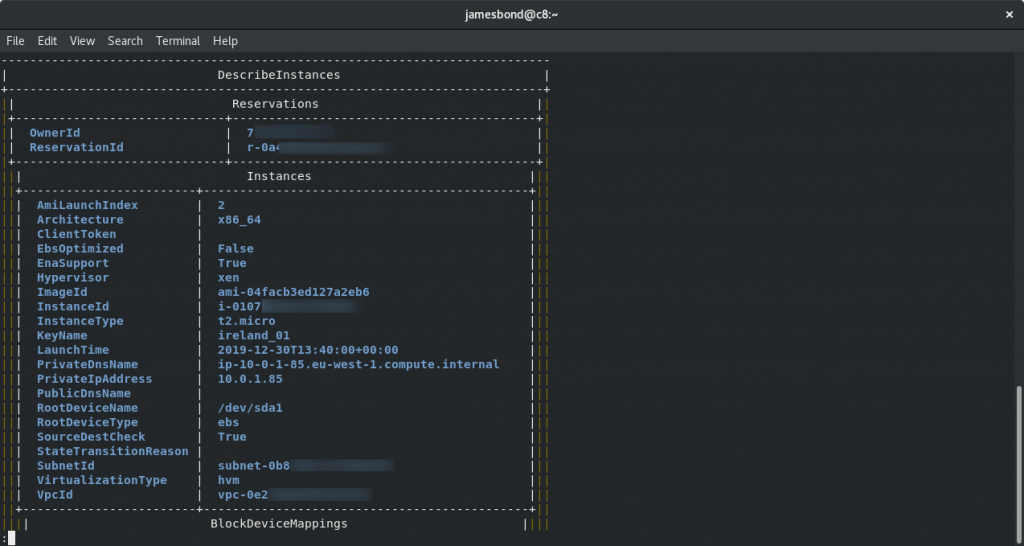
To check, if configuration is working as expected, we will try to list all active EC2 instances.
Using terminal, execute following command:
aws2 ec2 describe-instances --output table --profile <profile name>
10. Check access (2)
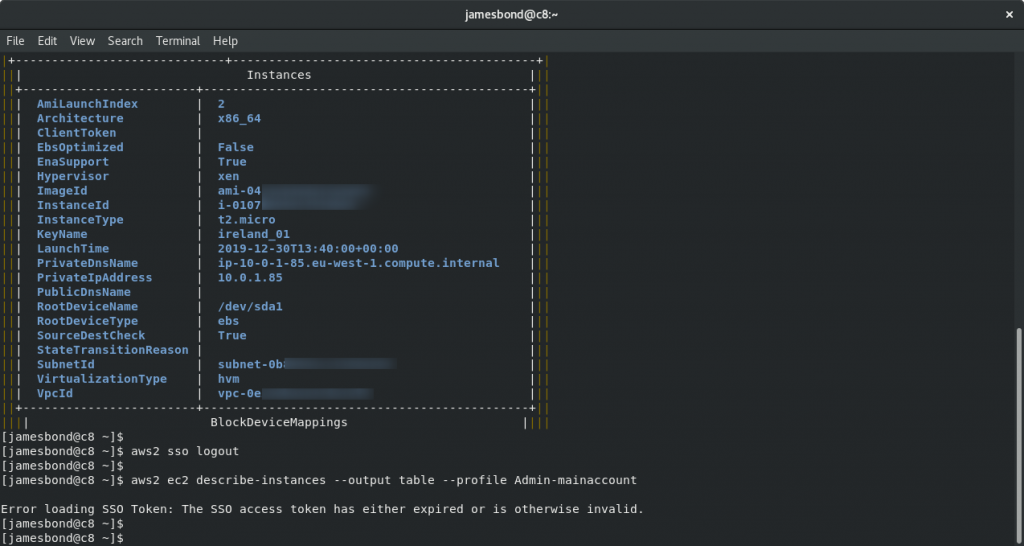
To logout, execute following command
aws2 sso logout
Please bear in mind, that if you now try to repeat aws2 ec2 describe-instances (...) command, you wil get an error: SSO token has either expired or is otherwise invalid.
11. Check access (3)
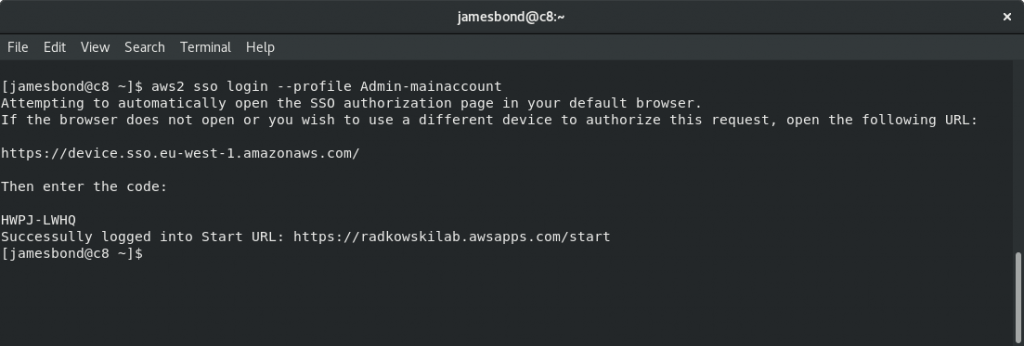
To login, use login command with proper profile switch
aws2 sso login --profile <profile_name>
You should now repeat procedure described in steps #3-#6. After that you should get information: Succesfully logged into start URL

