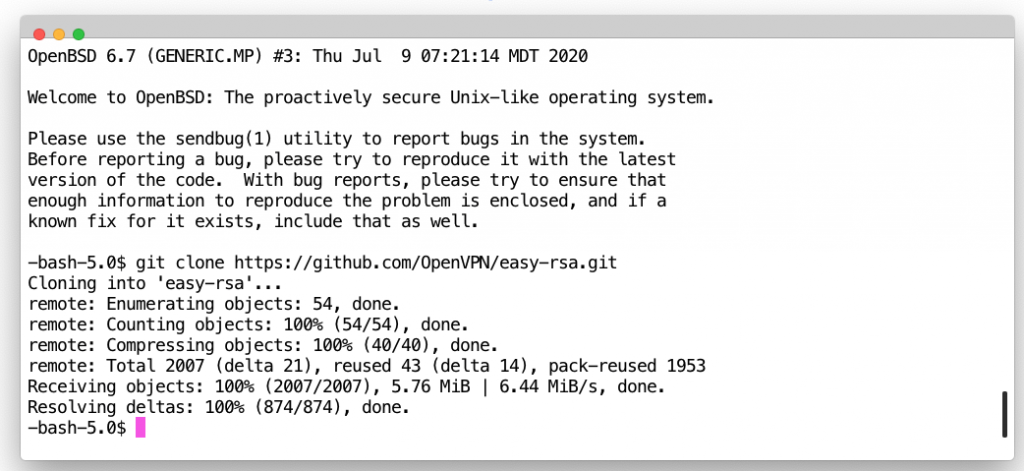
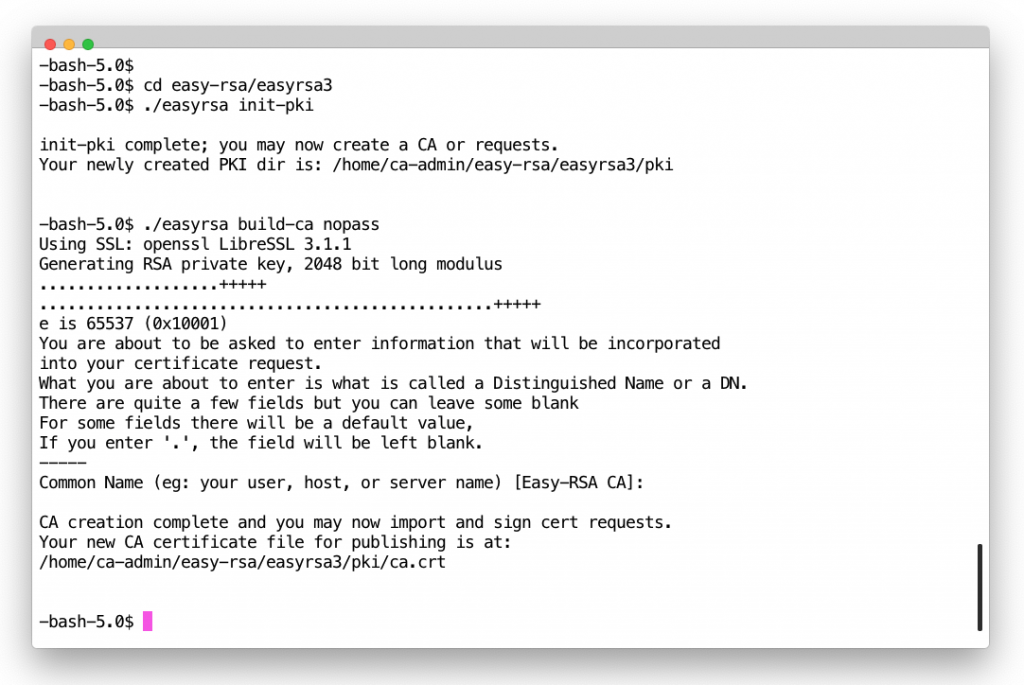
2. Initialise new PKI and create CA cert
cd easy-rsa/easyrsa3 ./easyrsa init-pki
$ ./easyrsa build-ca nopass
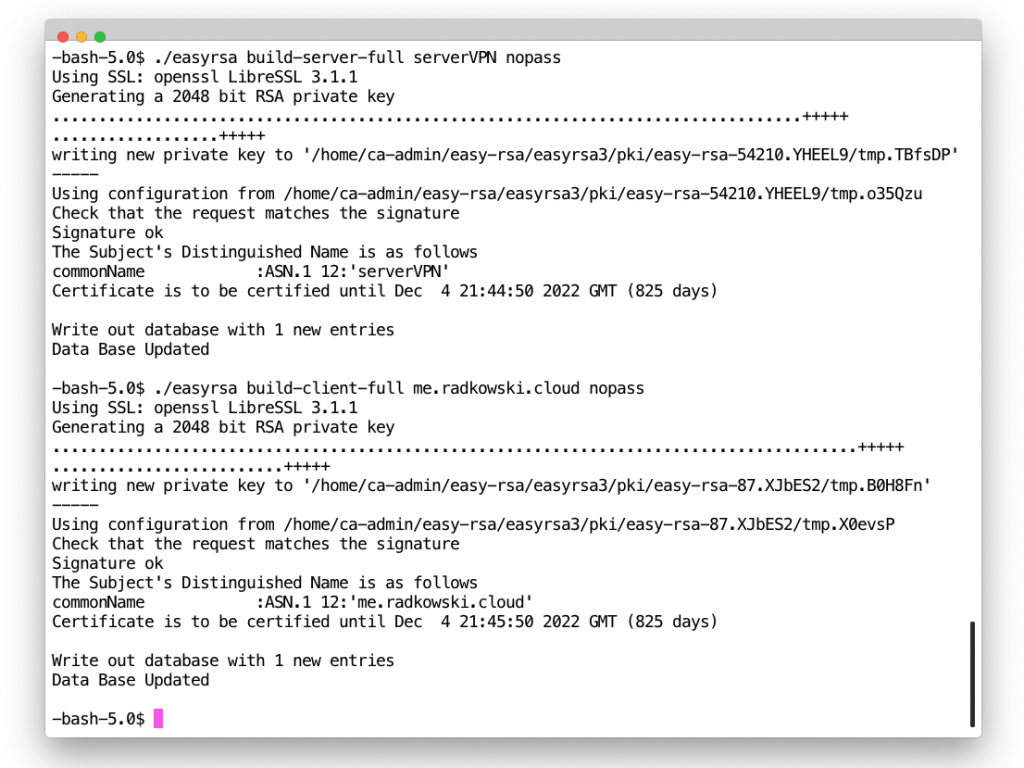
3. Generate server/client certs/keys
./easyrsa build-server-full server.radkowski.local nopass ./easyrsa build-client-full client1.radkowski.local nopass
Configs
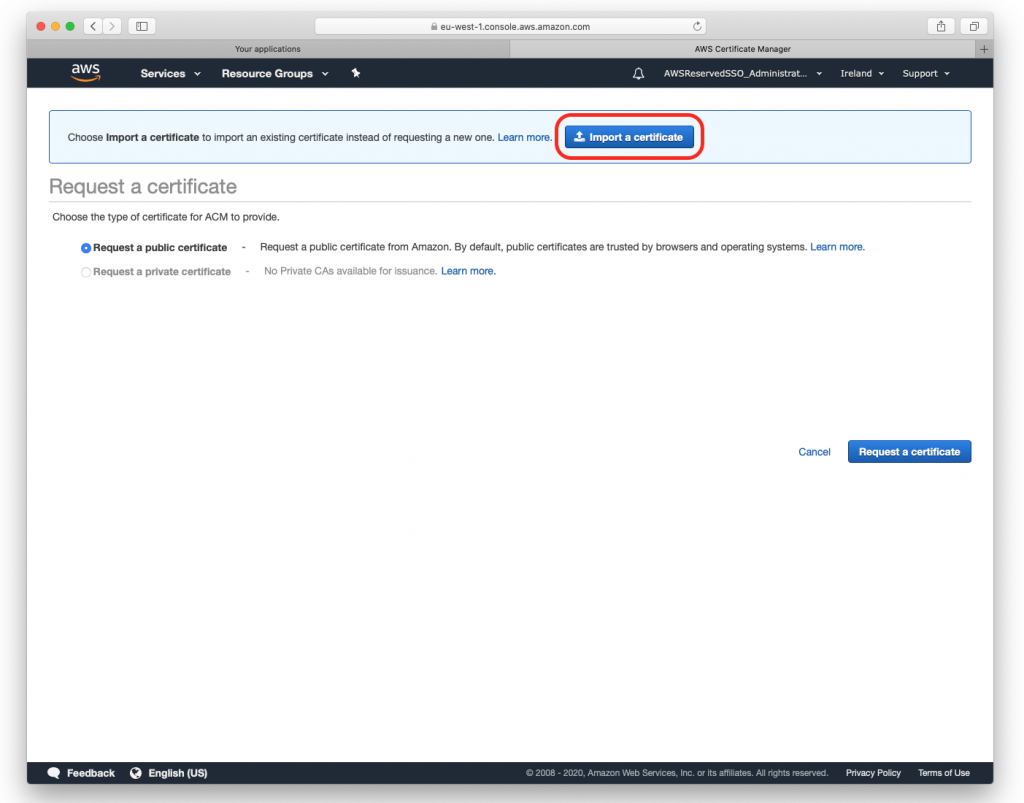
5. Certificate import
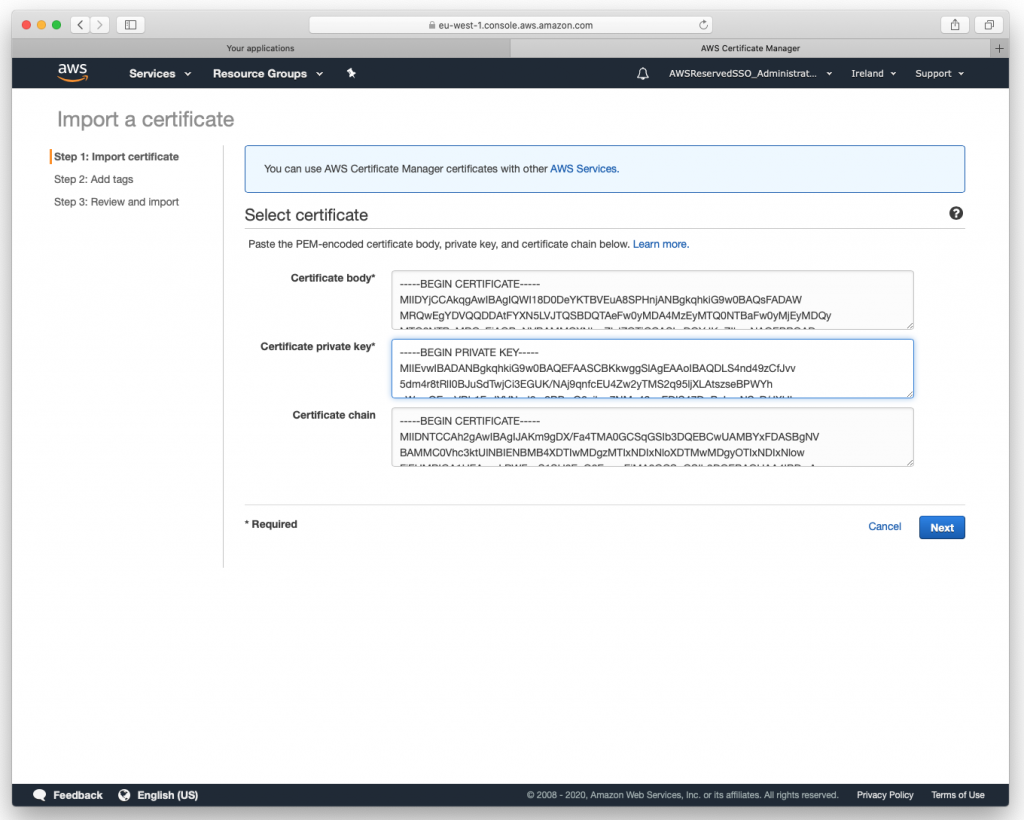
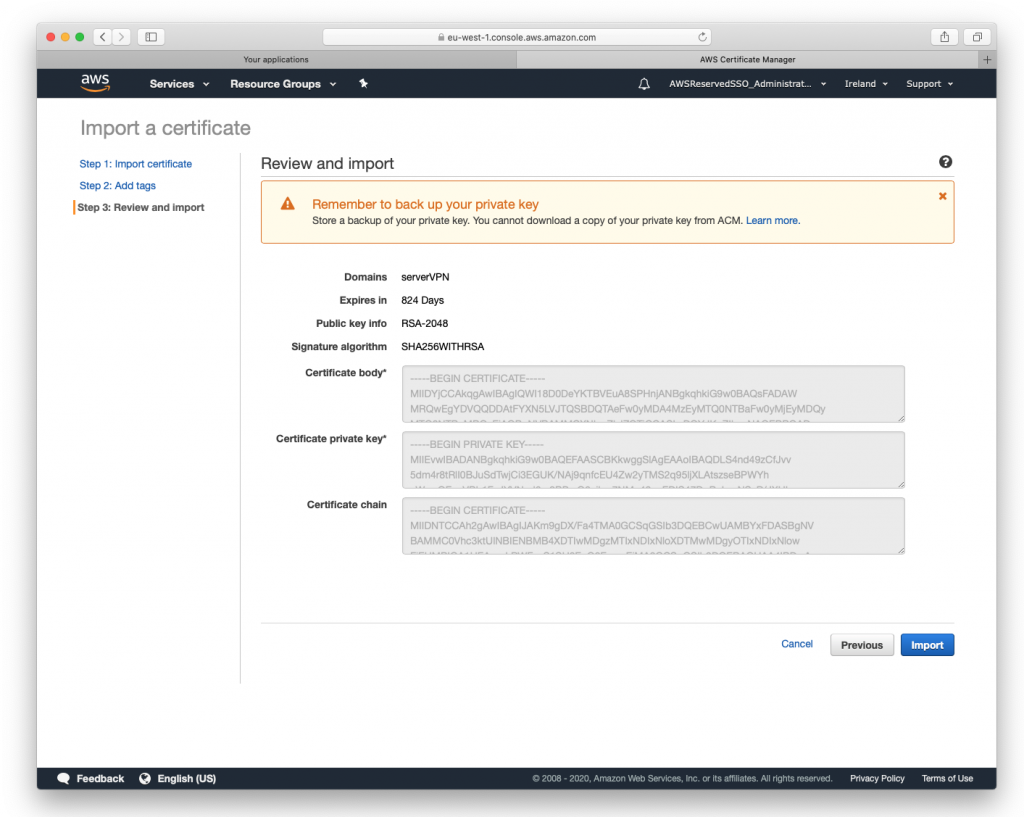
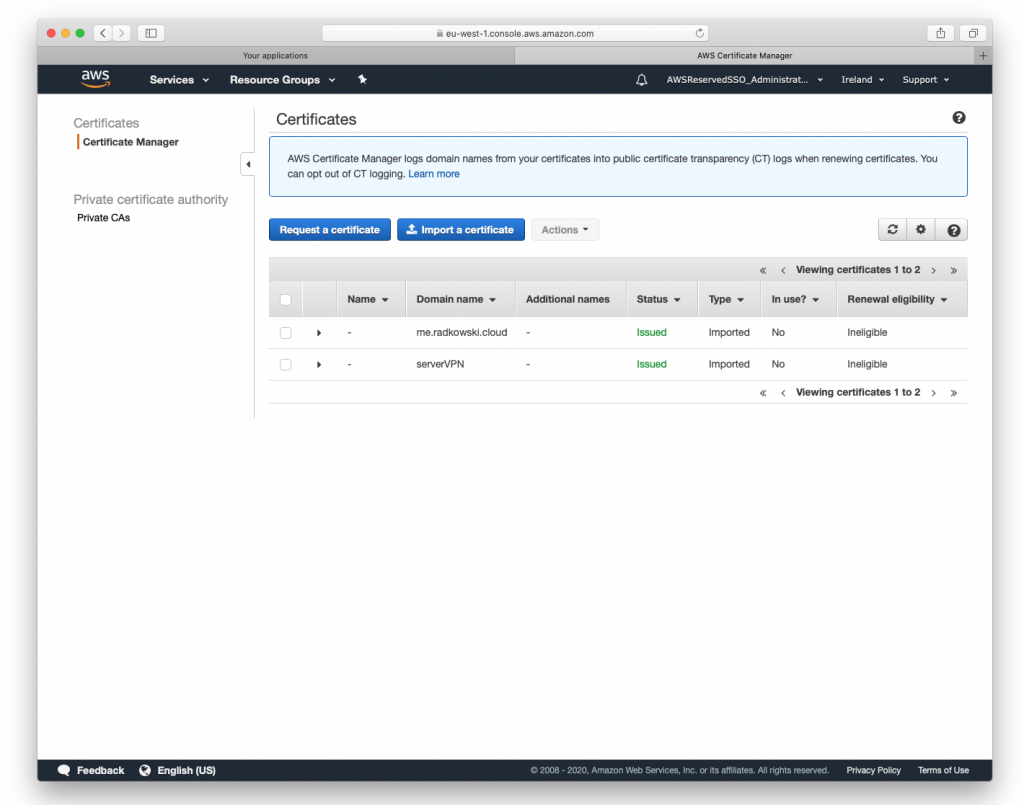
Import both certs created in step #2:
- paste certificate located in issued directory into Certificate Body window
- paste key located in private directory into Certificate Private Key window
- paste ca.crt located in ./pki/ca.crt into Certificate Chain window
List of files:
- server:
- ~/easy-rsa-easyrsa3/pki/ca.crt
- ~/easy-rsa-easyrsa3/pki/issued/serverVPN.crt
- ~/easy-rsa-easyrsa3/pki/provate/serverVPN.crt
- client:
- ~/easy-rsa-easyrsa3/pki/ca.crt
- ~/easy-rsa-easyrsa3/pki/issued/me.radkowski.pro.crt
- ~/easy-rsa-easyrsa3/pki/provate/me.radkowski.cloud.key
9. Associate Client VPN to target network
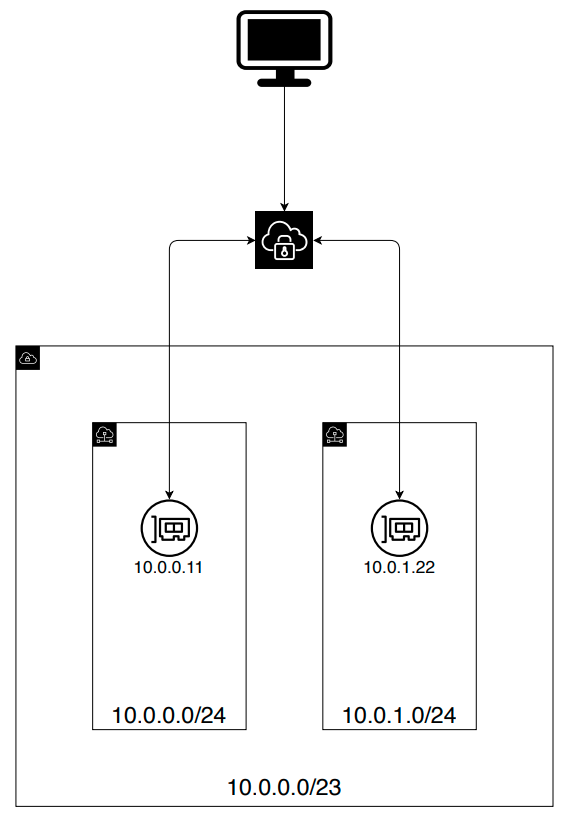
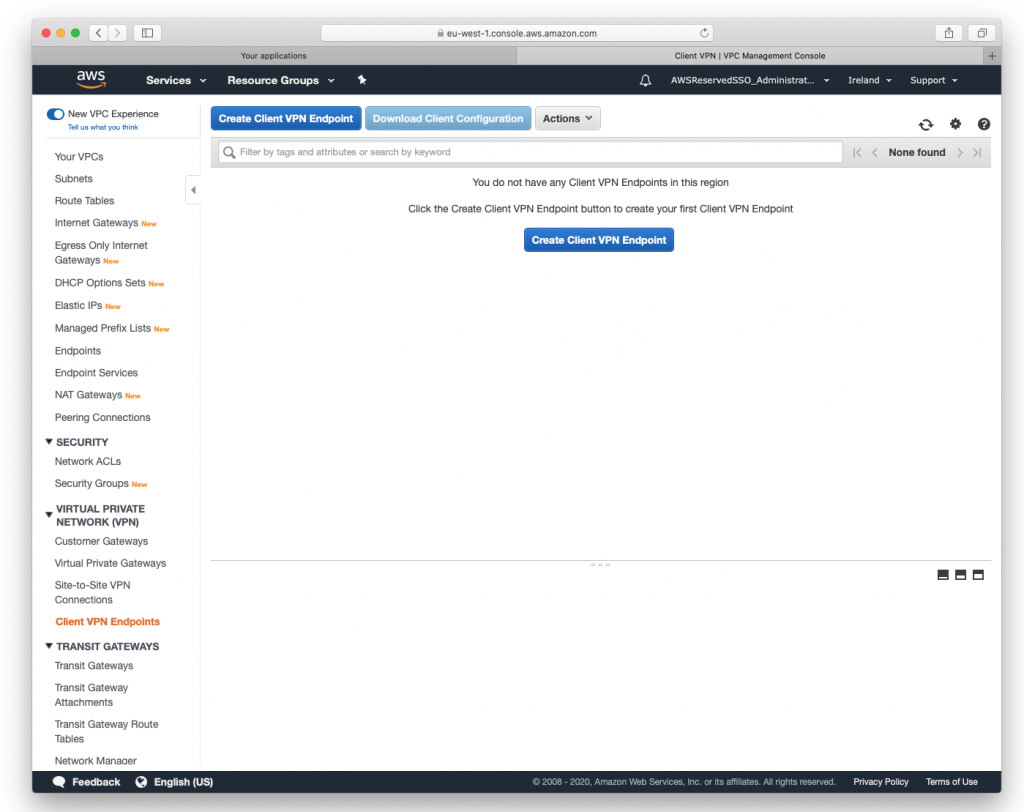
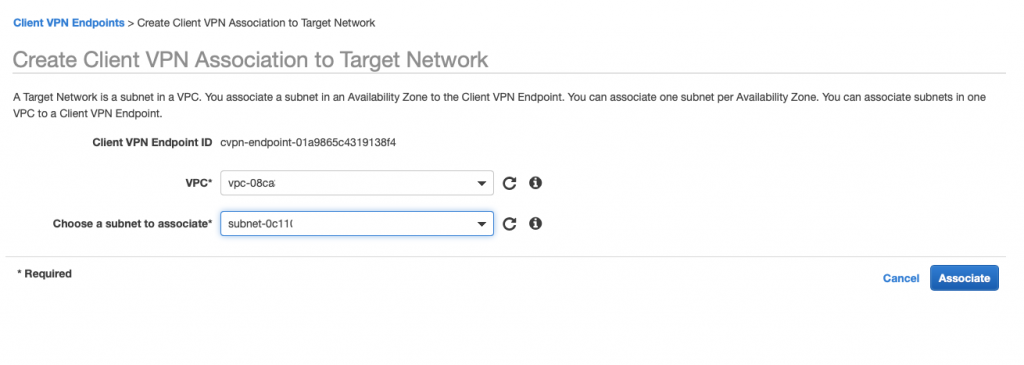
Use Console (associations tab) to associate VPN with target subnets. Multiple associations can be provided in assumption that only one association per AZ is available
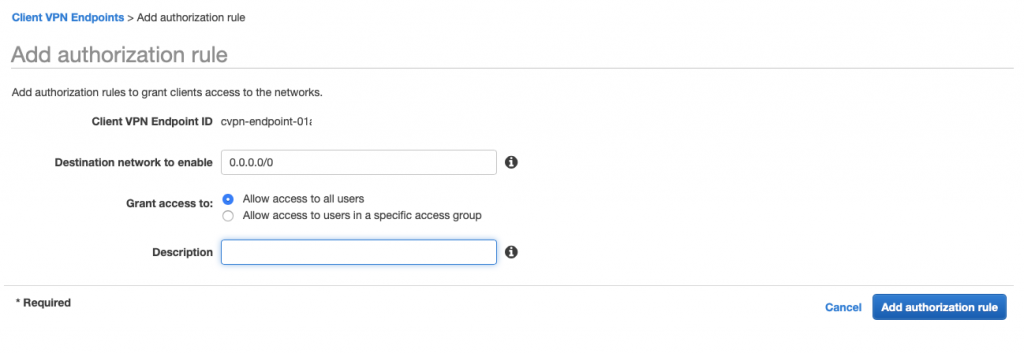
10. Authorize ingress
Use Console (authorization tab) to define networks which clients can connect from
11. Update config
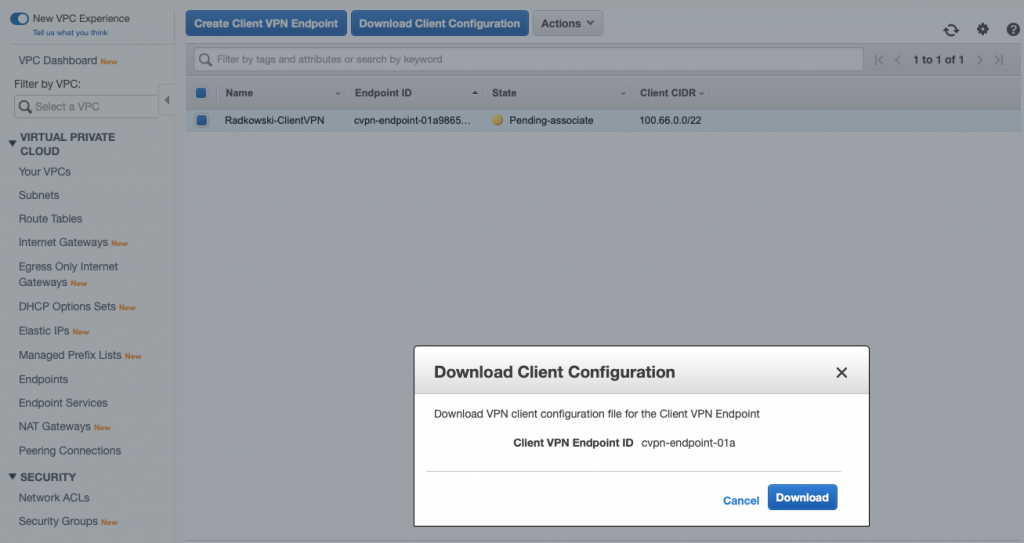
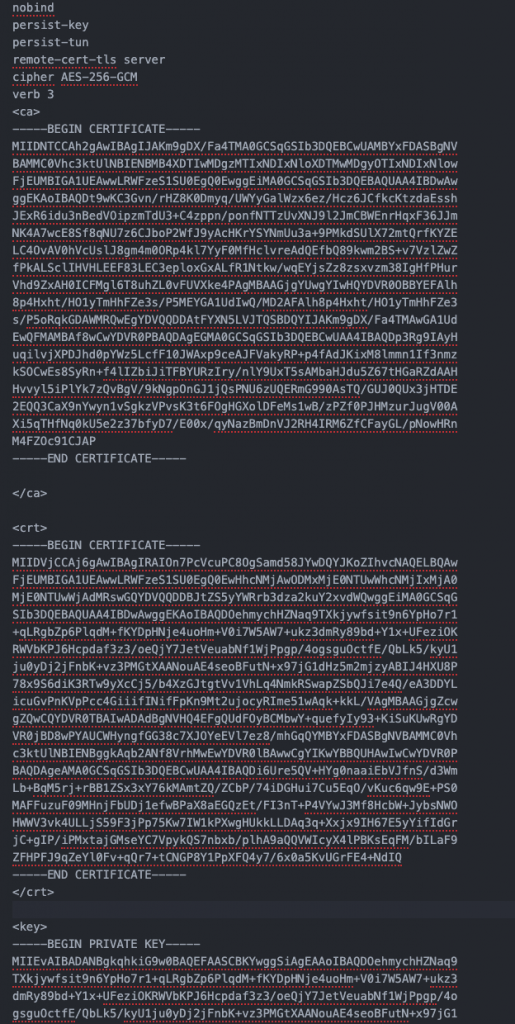
Using editor update ovpn config downloaded in step #8 by adding two sections:
- cert (client certificate generated in step #3)
- key (client key generated in step #3)
Both cert and key should be added using <cert> </cert> and <key> </key> blocks
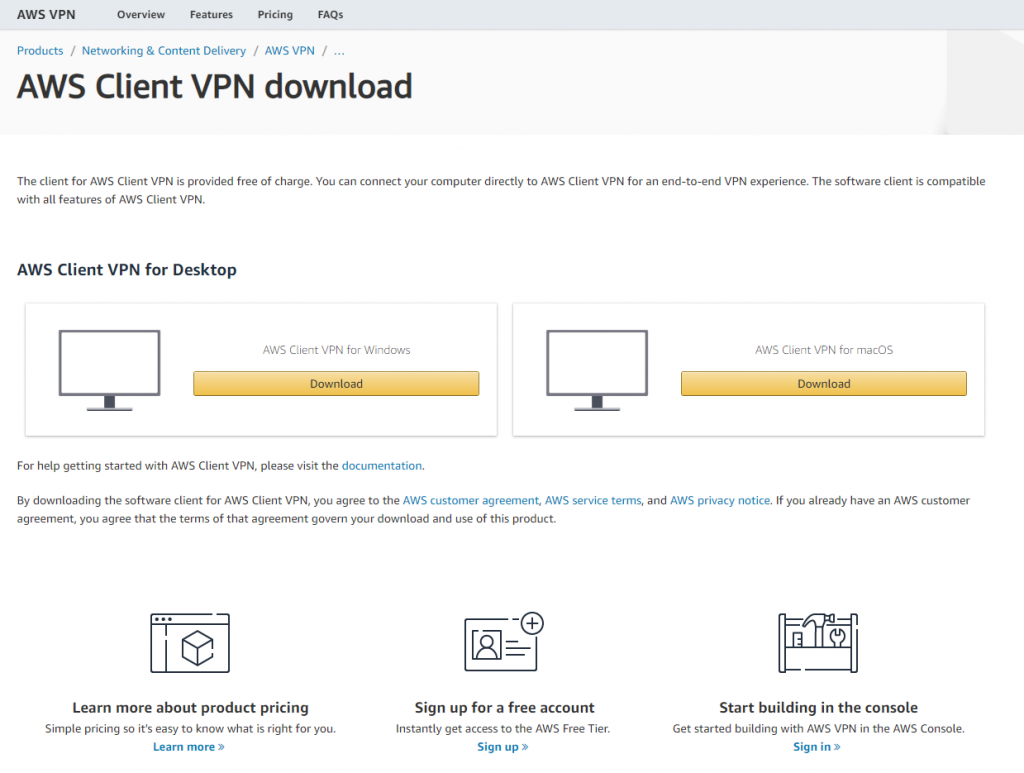
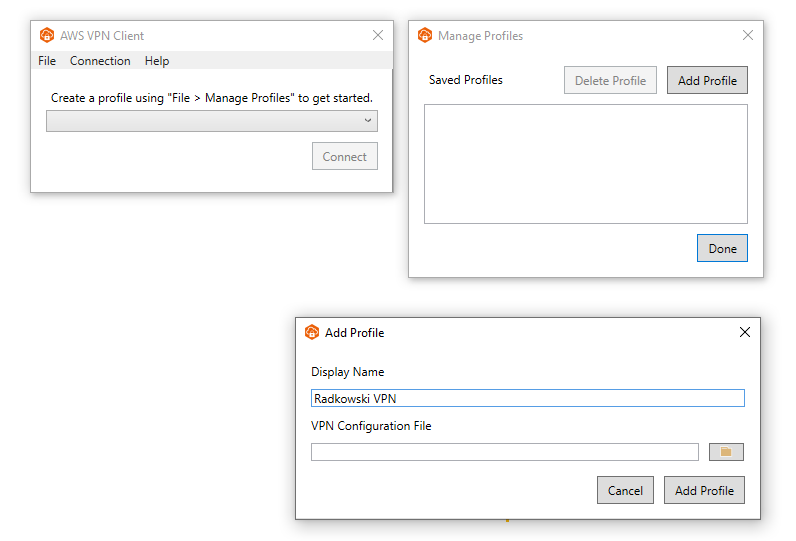
12. Download AWS VPN Client
Using following link, download AWS VPN Client
https://aws.amazon.com/vpn/client-vpn-download/
Alternatively any openvpn client can be used:
- https://tunnelblick.net/
- https://openvpn.net/download-open-vpn/

