IAM Roles Anywhere
Description
AWS Identity and Access Management Roles Anywhere can be used to obtain temporary security credentials in IAM for workloads that run outside of AWS. Using IAM Roles Anywhere means that managing long-term credentials is no longer required.
Service uses X.509 certificates issued by CA that is registered in IAM using dedicated trust anchor. Both AWS Certificate Manager Private CA as well as external CA can be used. This lab presents a scenario with external CA deployed using easy-rsa solution.
Lab Schema

Config - CA
1.Create new CA
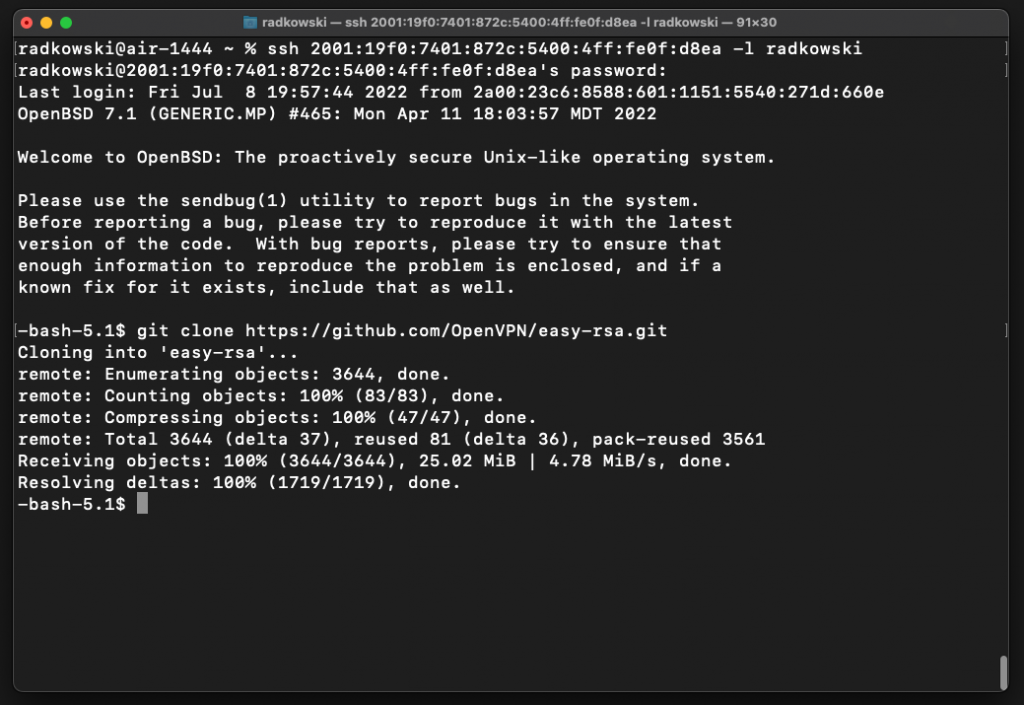
Using git, clone easy-rsa repo
git clone https://github.com/OpenVPN/easy-rsa.git
2.Initiate new CA
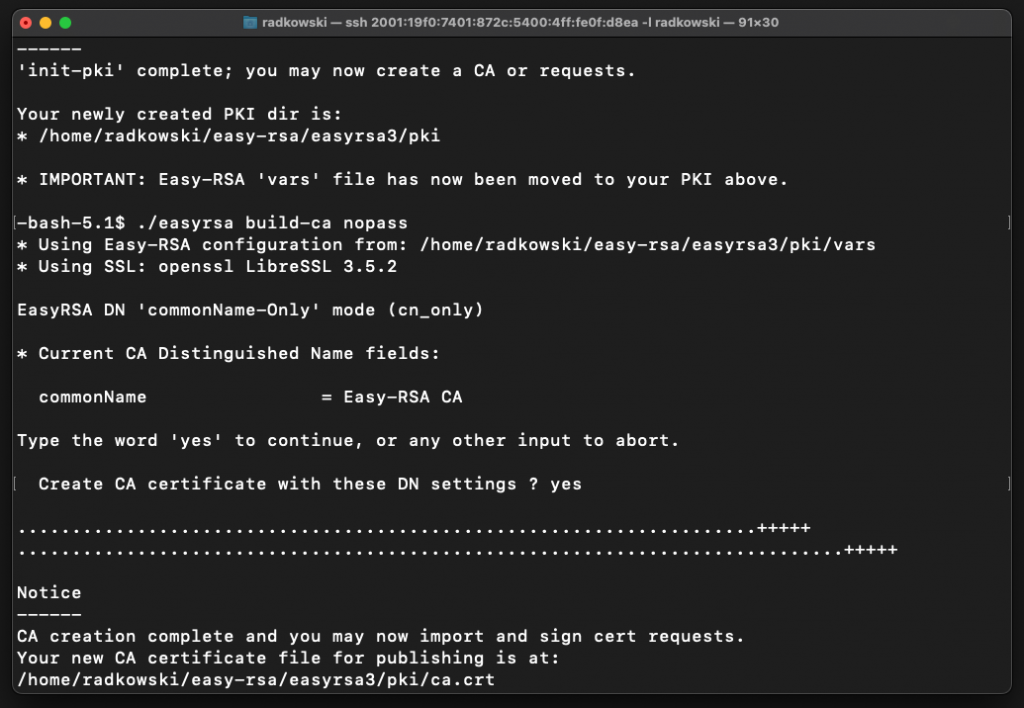
Once CA has been created, initiate it
cd easy-rsa/easyrsa3
./easyrsa init-pki
./easyrsa build-ca nopass
3.Create a cert/key for a first user
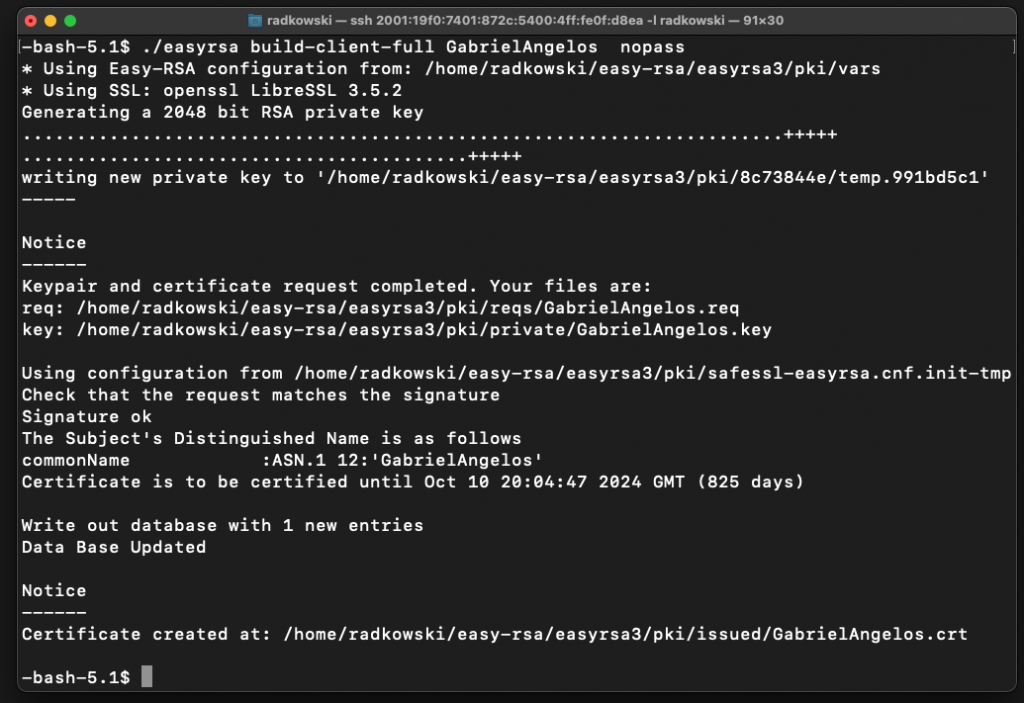
Using CA cli, create cert/key for a first user (GabrielAngelos)
./easyrsa build-client-full GabrielAngelos nopass
4.Create a cert/key for a second user
Using CA cli, create cert/key for a second user (DavianThule)
./easyrsa build-client-full DavianThule nopass
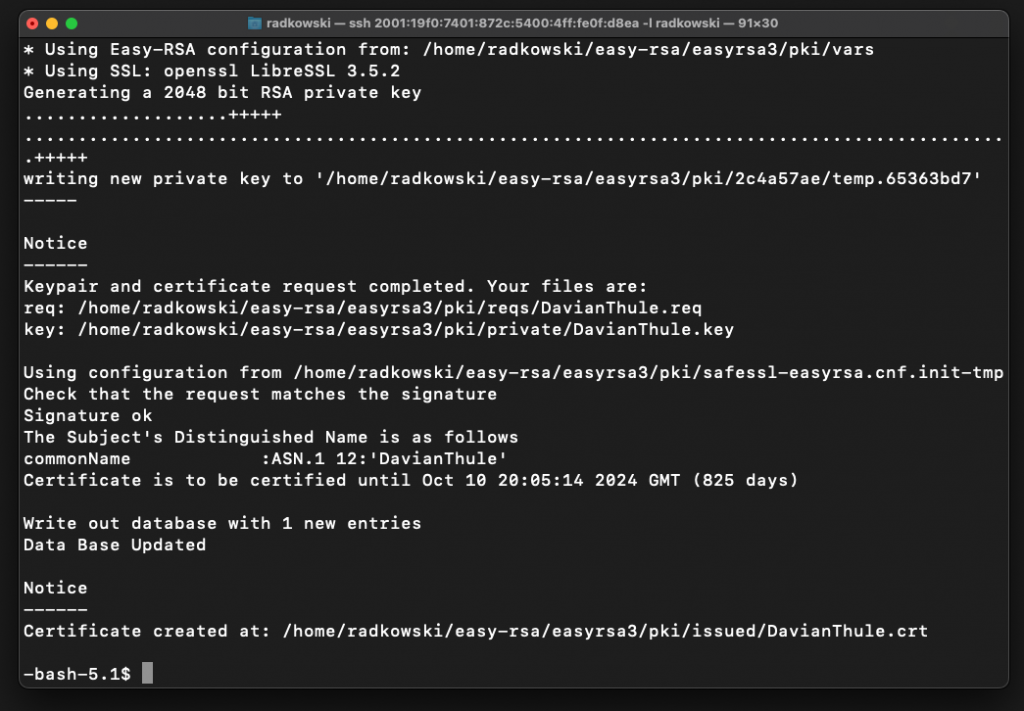
5.Collect CA Cert
Find and record CA cert to import it to AWS IAM
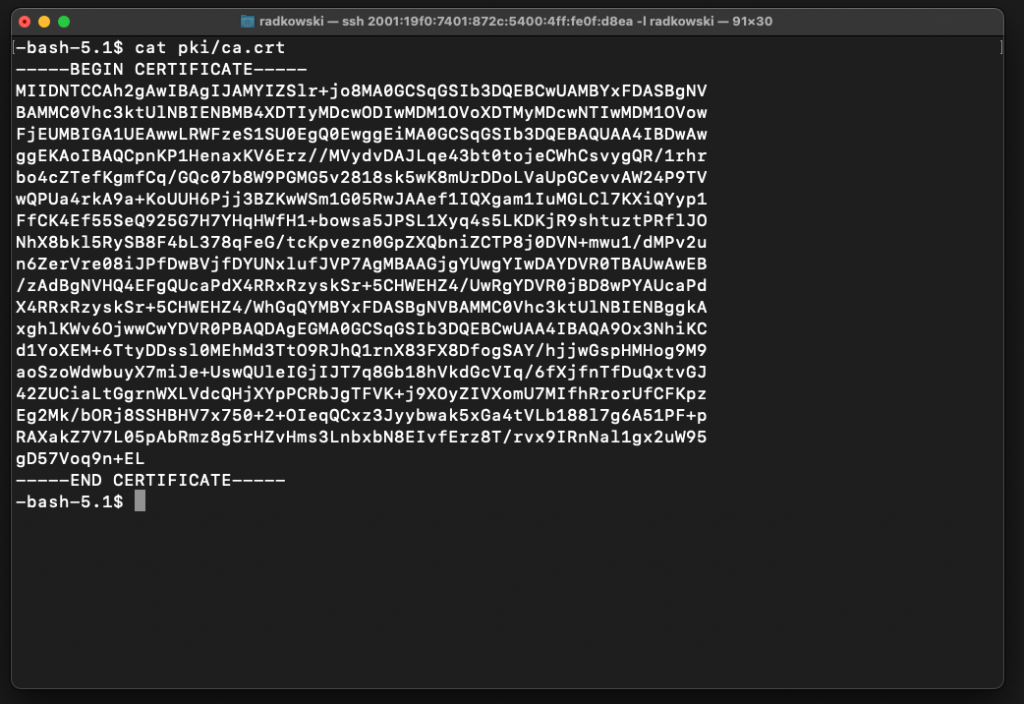
Config - IAM
6.Prepare a trust policy #1
Prepare trust policy to be used by first role
{
    "Version": "2012-10-17",
    "Statement": [
        {
            "Effect": "Allow",
            "Principal": {
                "Service": [
                    "rolesanywhere.amazonaws.com"
                ]
            },
            "Action": [
              "sts:AssumeRole",
              "sts:TagSession",
              "sts:SetSourceIdentity"
            ]
        }
    ]
}
7.Create a new role #1
Using AWS Console, create a new role (Lab-IAM-Anywhere-All). Configure trust using the policy prepared in step #6
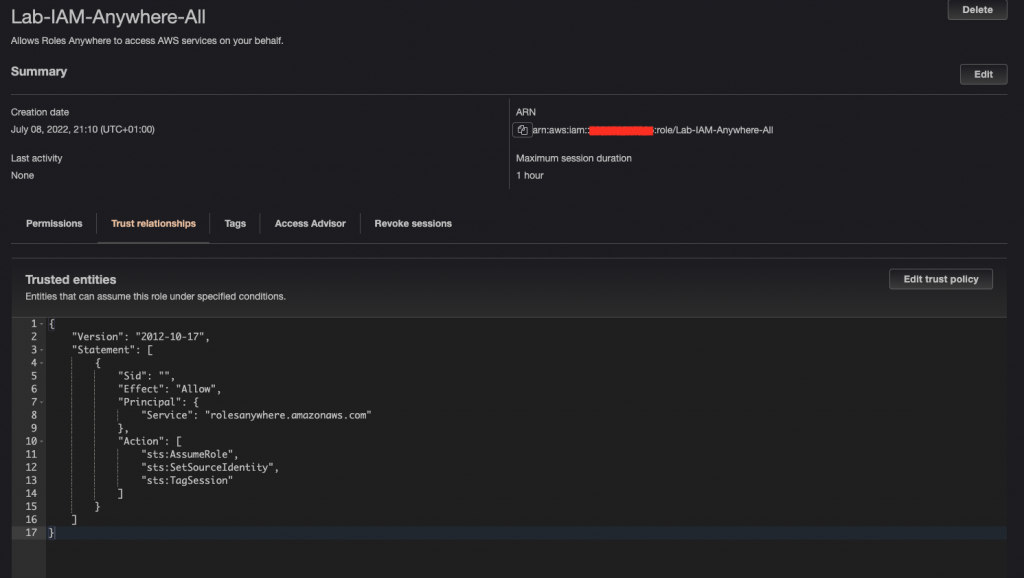
8.Prepare a trust policy #2
Prepare the trust policy to be used by a second role
{
    "Version": "2012-10-17",
    "Statement": [
      {
        "Effect": "Allow",
        "Principal": {
             "Service": [
                 "rolesanywhere.amazonaws.com"
             ]
         },
        "Action": [
          "sts:AssumeRole",
          "sts:TagSession",
          "sts:SetSourceIdentity"
        ],
        "Condition": {
          "StringEquals": {
            "aws:PrincipalTag/x509Subject/CN": "DavianThule"
          }
        }
      }
    ]
  }
9.Create a new role #2
Using AWS Console, create a new role (Lab-IAM-Anywhere-Only-Thule) and set the trust policy defined in step #8
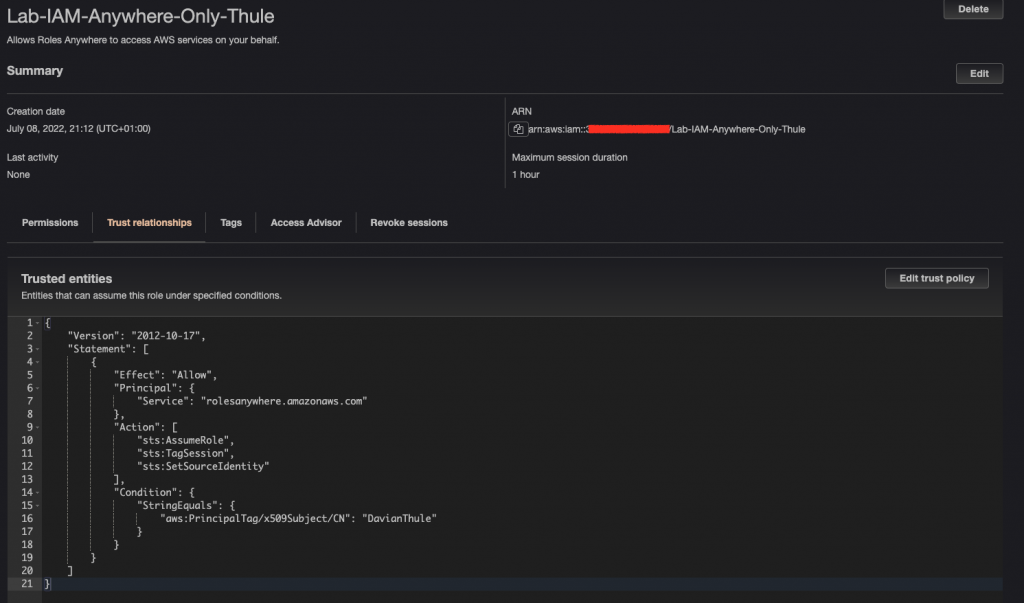
10.Configure a trust anchor
Using AWS Console, go to IAM Roles Anywhere tab. Next, click "Create a trust anchor"

11.Define/configure CA details
Provide Region and trust anchor name. Select type of CA (AWS ACM PCA or external). In the following scenario, external CA has been used. Paste CA cert collected in step #5

12.Check the trust anchor config
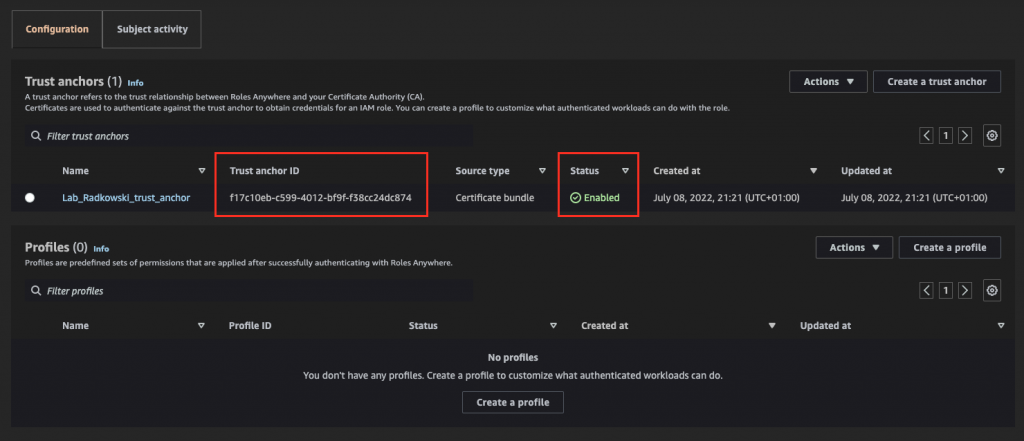
Confirm that the trust anchor has been configured correctly (Status: ACTIVE). Record the anchor ID
13.Create a profile
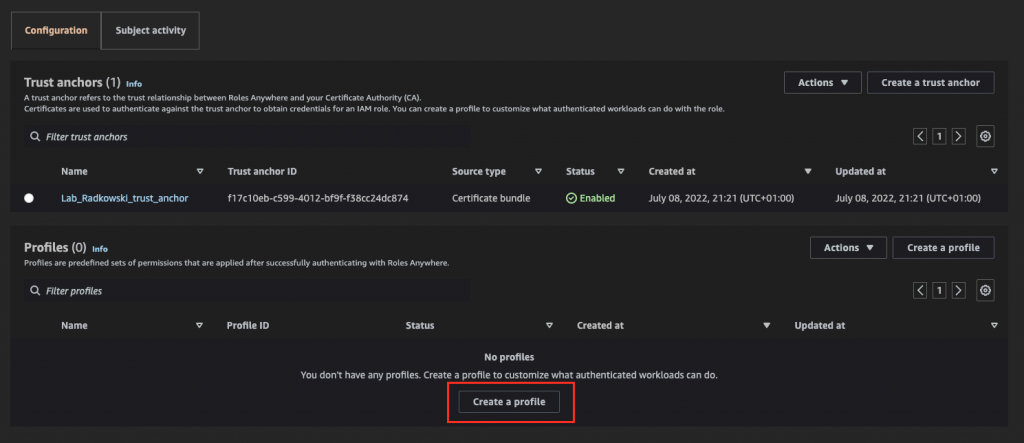
Using IAM Roles Anywhere console, create a new profile
14.Configure profile
Enter name and assign to the profile previously created roles (steps 7 and #9)

15.Check the profile config
Confirm that the profile has been configured correctly (Status: ACTIVE). Record profile ID

Test Area
16.Prepare a credentials capture script
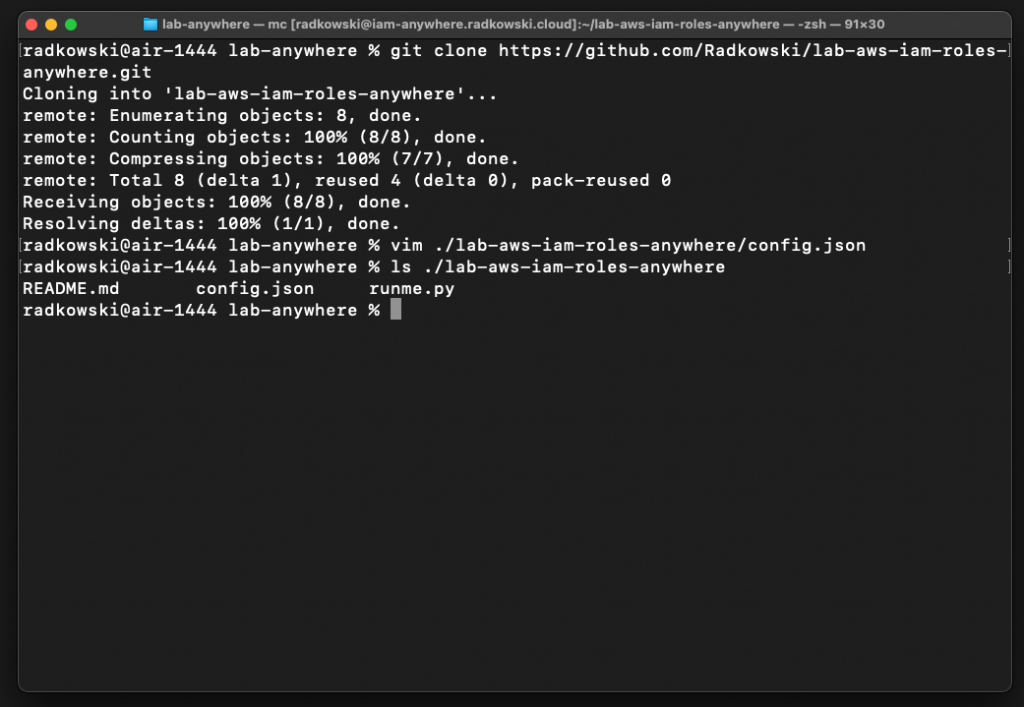
Using git, clone repo that listed on the right side. It will give you access to a simple python script (including a config file) that allows you to get credentials using IAM Roles Anywhere. You can still execute commands manually
git clone https://github.com/Radkowski/lab-aws-iam-roles-anywhere.git
17.Configure tests for a first user
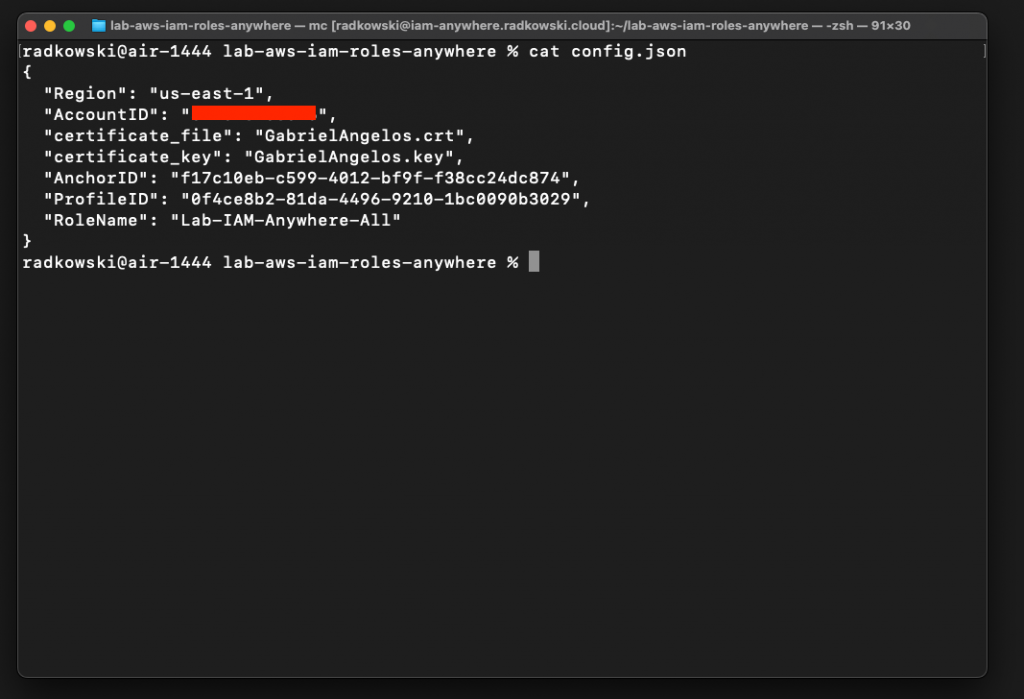
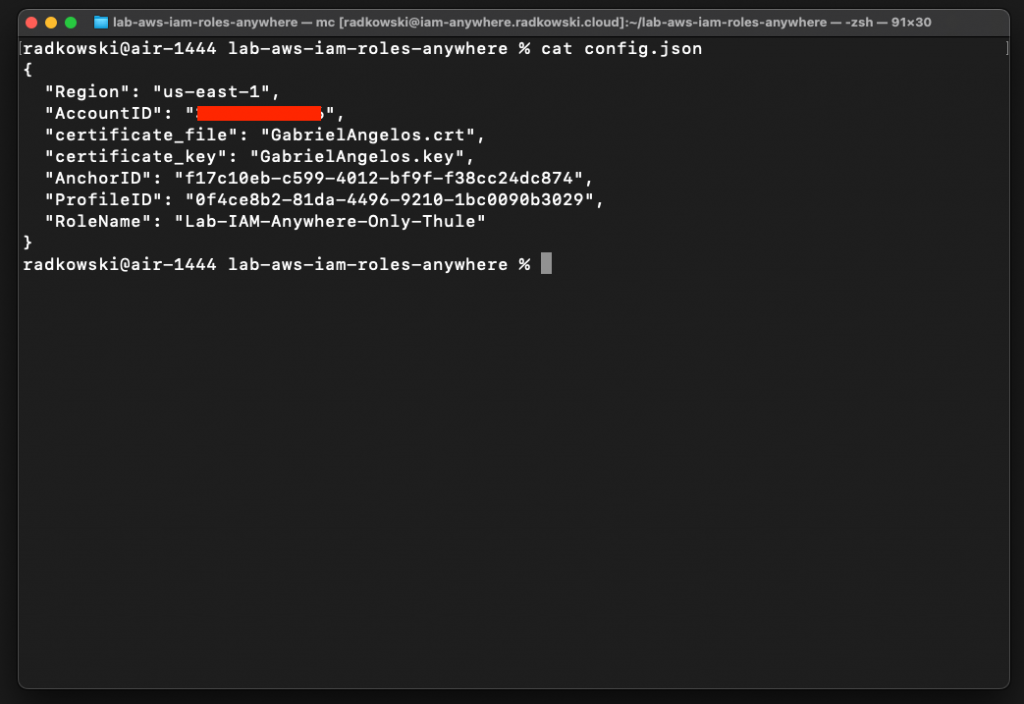
Update config.json file by providing all parameters captured in the previous steps. Use Gabriel Angelos cert/key and Lab-IAM-Anywhere-All role
18.Generate credentials for first user
Open new terminal (test) and execute the following command:
aws sts get-caller-identity
It's expected to get error: "Unable to find credentials" as we haven't provided any, yet.
Next, come back to the console where the script is present and run the script using the following command:
python3 ./runme.py
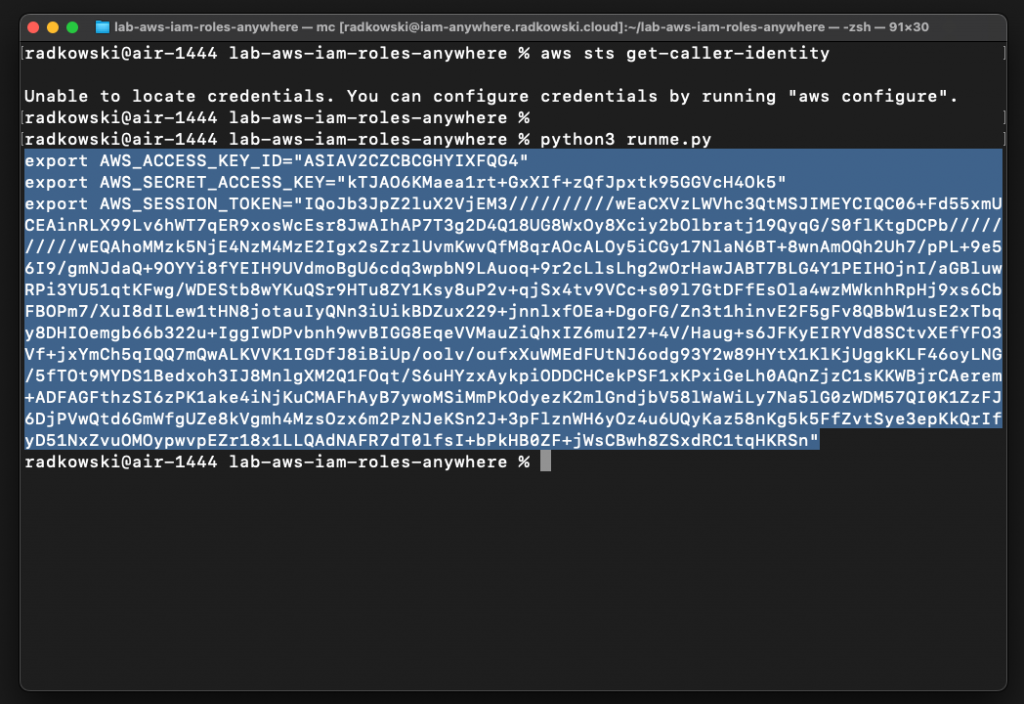
As a result, you should get three lines with AWS credentials
19.Assume the first role
Copy credentials from step #19, come back to test terminal and paste it. It should export three variables:
- AWS_ACCESS_KEY_ID
- AWS_SECRET_ACCESS_KEY
- AWS_SESSION_TOKEN
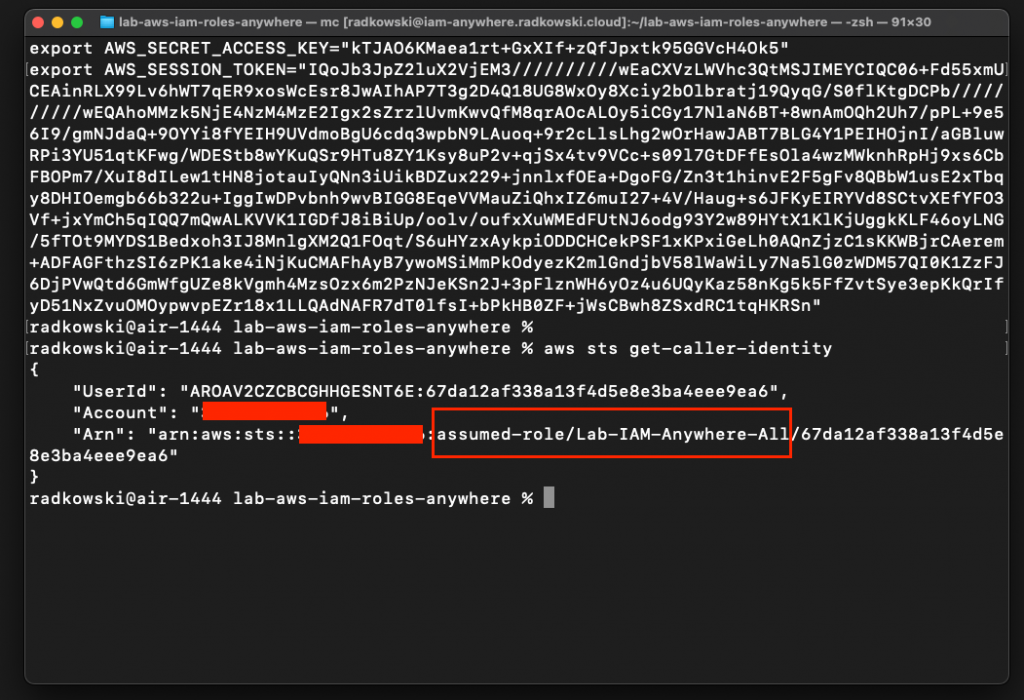
Now, execute the following command again
aws sts get -caller-identity
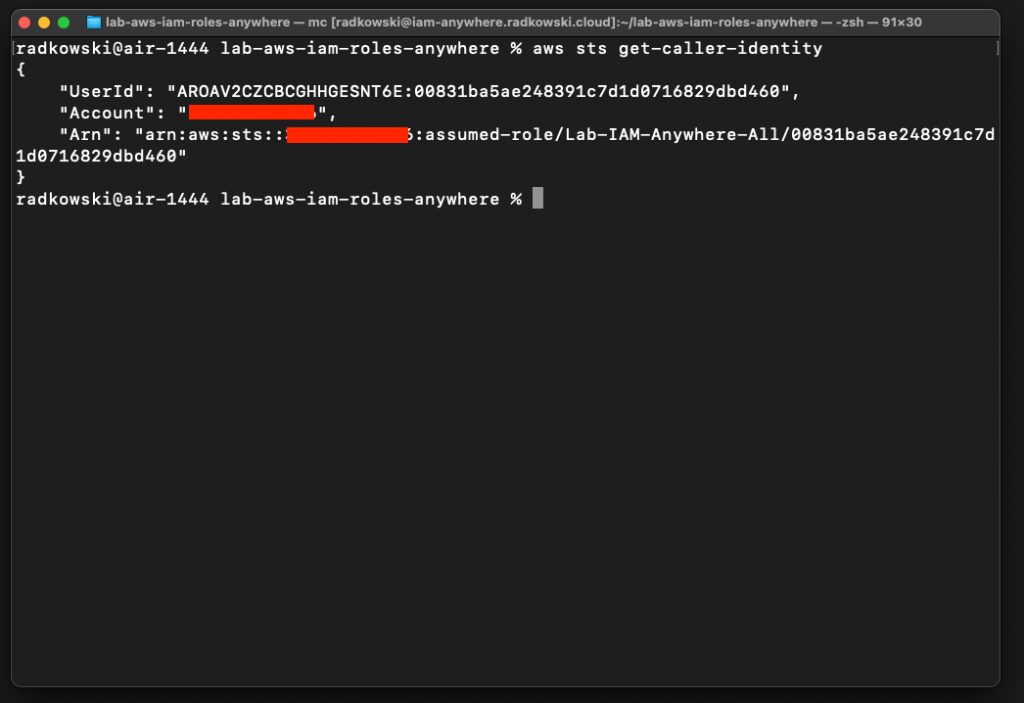
It's expected to get information that you have successfully assumed role Lab-IAM-Anywhere-All
20.Update a role name in config file
Update config.json to get assume Lab-IAM-Anywhere-Thule-Only using Gabriel Angelos cert/key. Execute script again
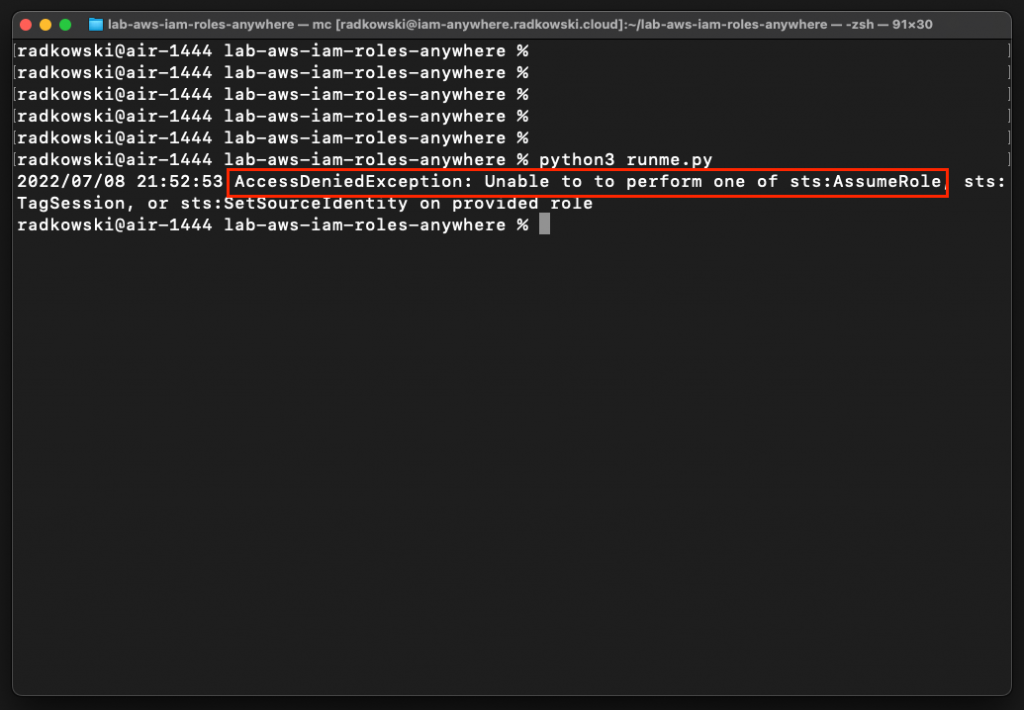
21.Confirm trust policy is not allowing role to be assumed by GabrielAngelos
It's expected to get AccessDenied as GabrielAngelos is not authorized to assume this role (policy defined in step #8)
22.Configure tests for DavienThule #1
Update config.json to get assume Lab-IAM-Anywhere-Thule-Only using DavienThule cert/key. Execute script again
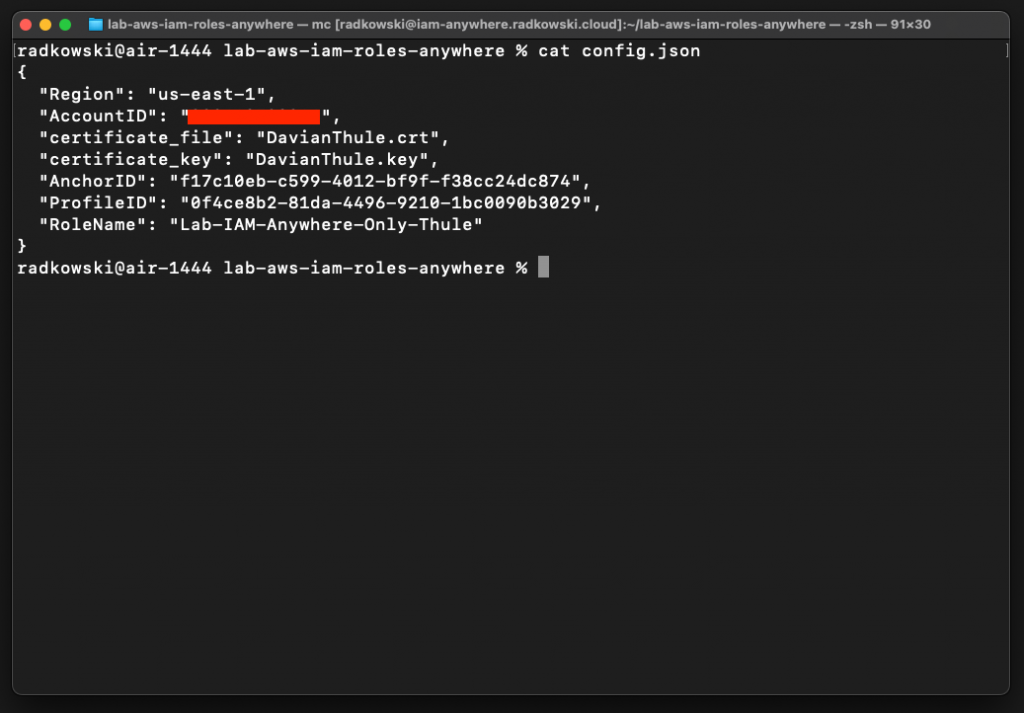
23.Configure tests for DavienThule #2
This time (as DavienThule) is allowed to assume Lab-IAM-Everywhere-Thule-Only role script will return proper credentials. Export credentials to test terminal and confirm that role has been assumed successfully
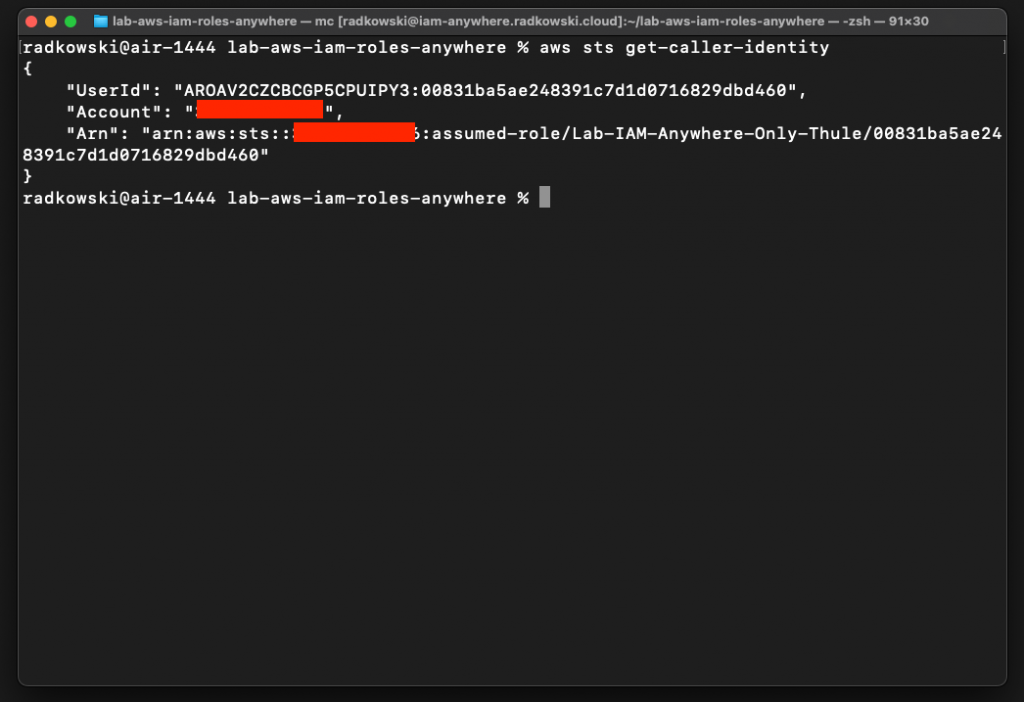
24.Configure tests for DavienThule #3
Modify config to assume Lab-IAM-Everywhere-All role using DavienThule credentials. As previously you should be able to assume the above role
