IAM Federation with AzureAD
Description
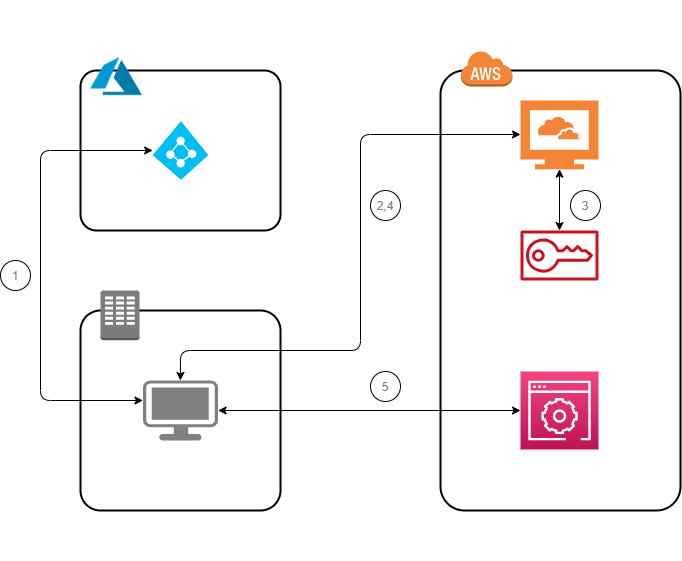
AWS IAM allows you to use a role to configure SAML 2.0-compliant identity provider (IdP) and to permit federated users to access the AWS Management Console. The role grants the users/groups permissions to carry out tasks in the console
-
Create Enterprise Application
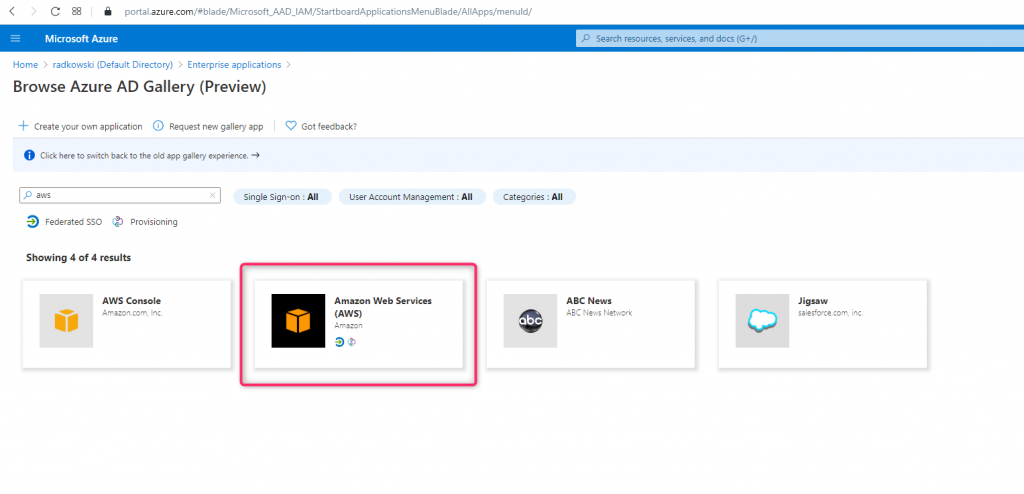
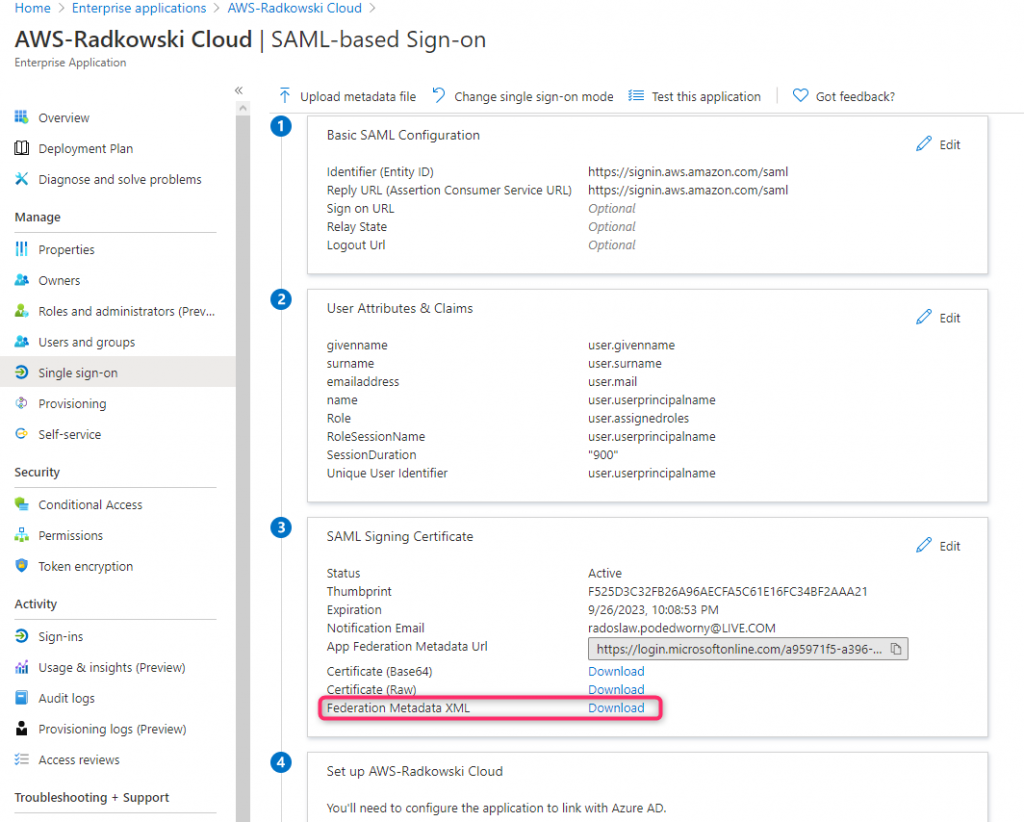
Using Azure Console, create new Enterprise Application select Amazon Web Services as a template
Configs (AWS part #1)
8. IAM Role config (#1)
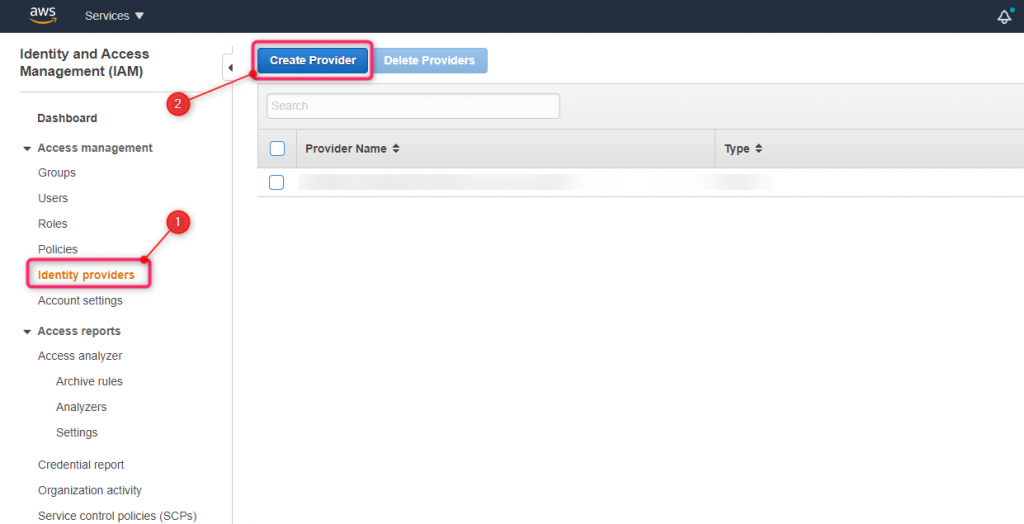
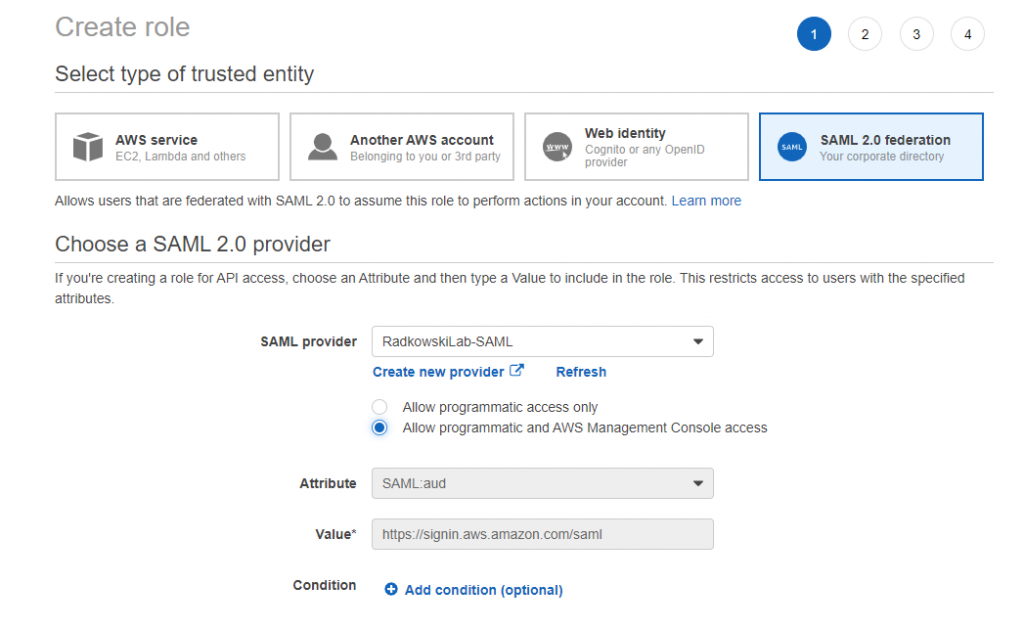
Using IAM create new role. Select SAML 2.0 Federation as a trusted entity and select IdP Provider created in step #7
11. IAM Role config (#3)
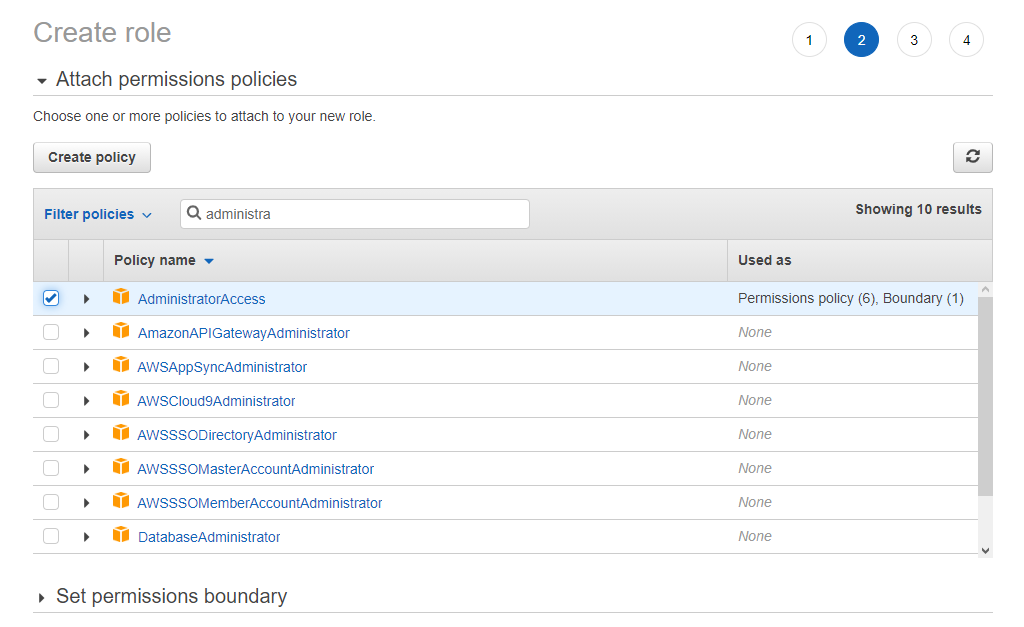
Repeat steps 8-10 to create two additional roles:
- EC2 admins (permission policy set to AmazonEC2FullAccess)
- S3 ReadOnly Access (permission policy set to AmazonS3ReadOnlyAccess)
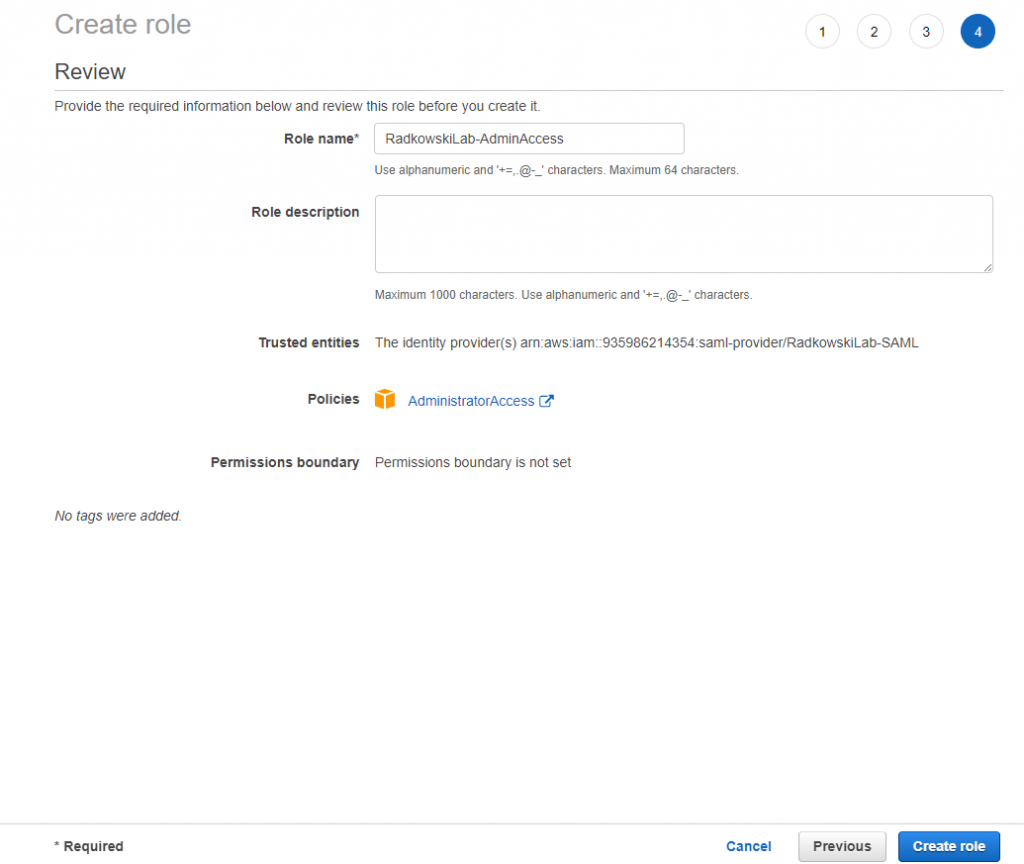
12. IAM Role config (#4)
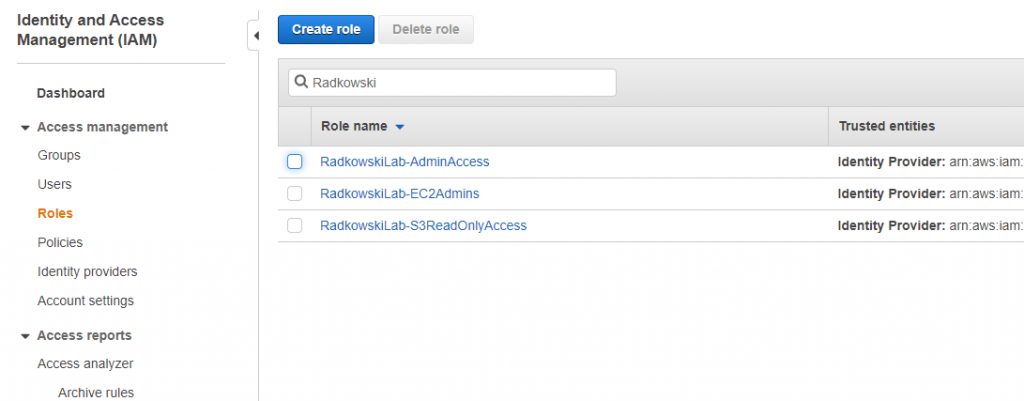
Using IAM confirm all three roles has been created correctly (including trust policy set to IdP)
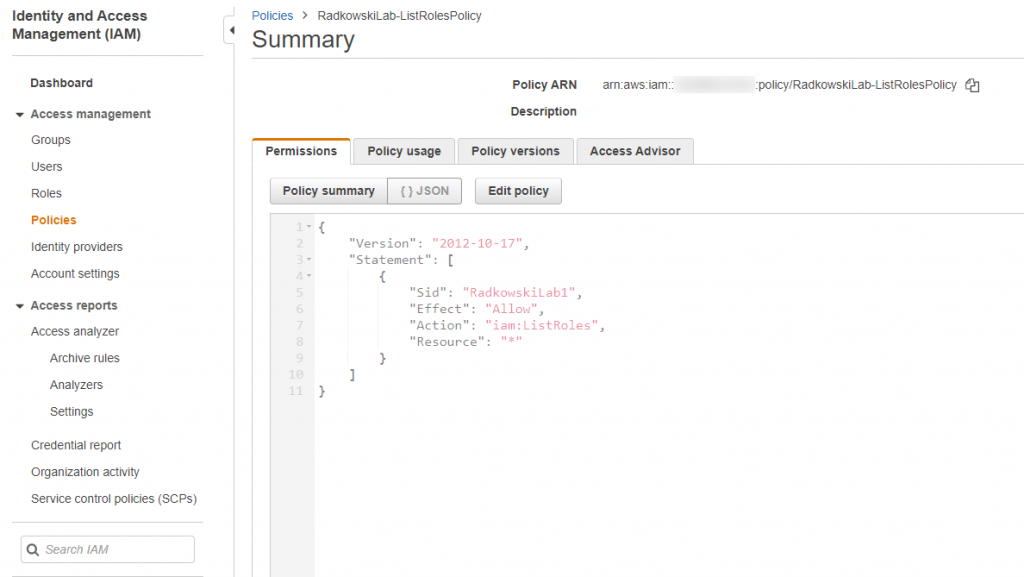
13. Provisioning policy
Using IAM create policy which allows to ListRoles
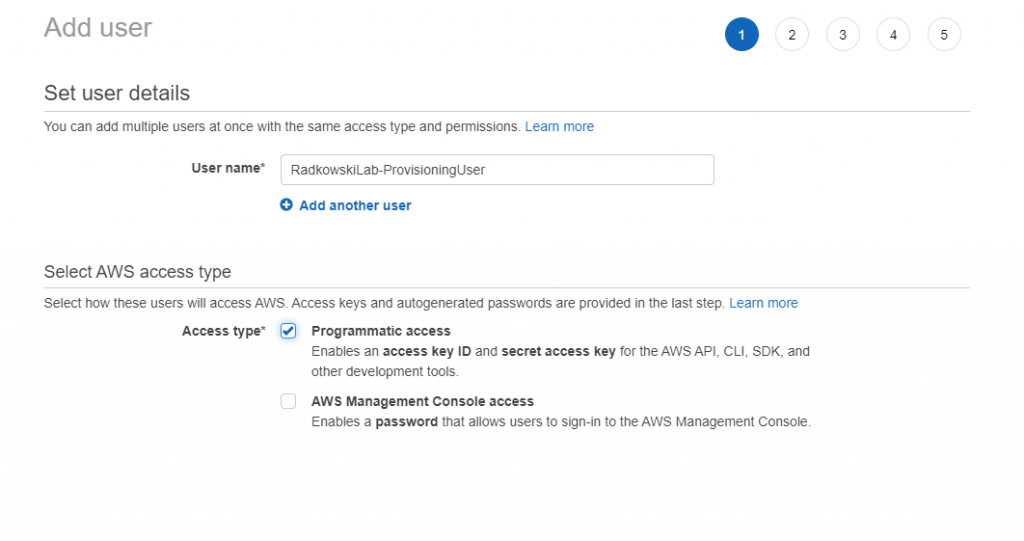
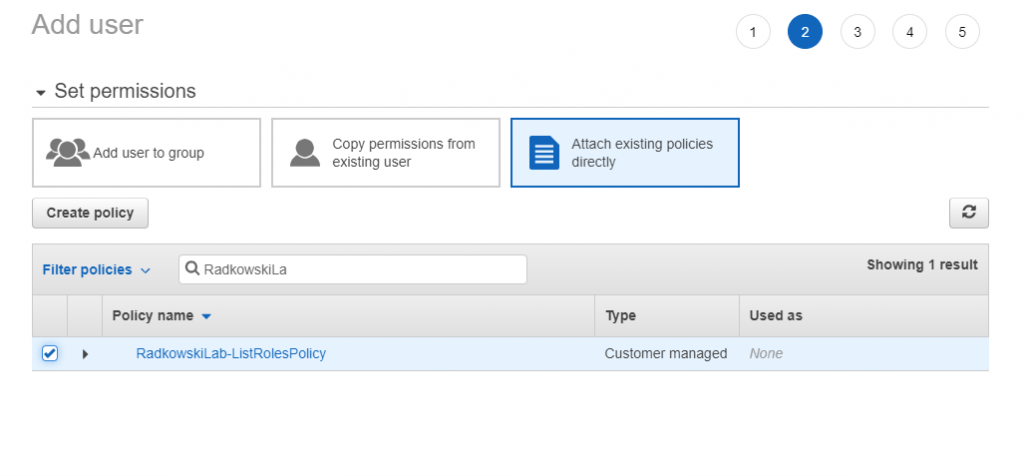
15. Provisioning user config (#2)
Attach to user policy created in step #13. Safe user access keys (access key ID and secret access key)
Configs (Azure part #2)
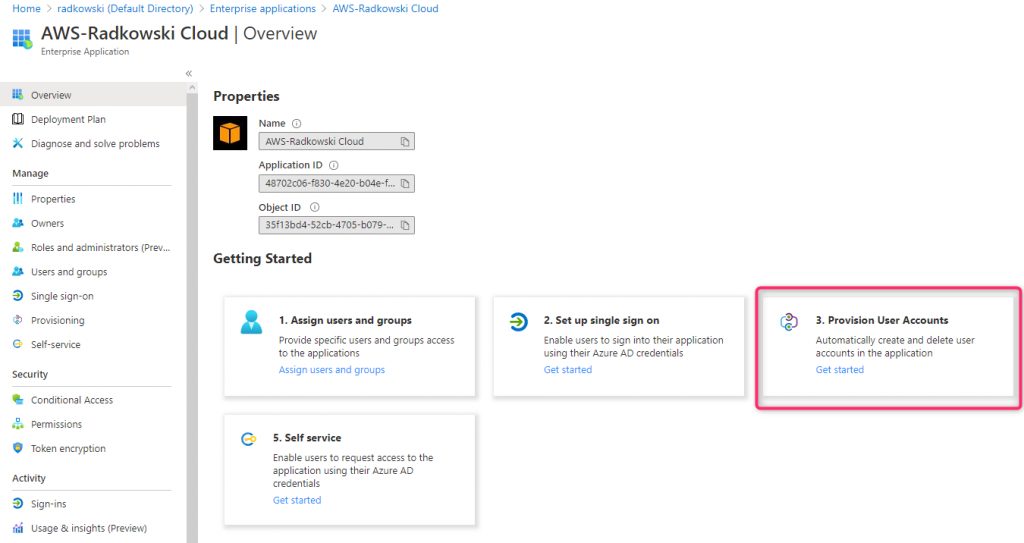
16. Provisioning Ent App config (#1)
Come back to Azure Console, select Enterprise Application created in step #1 and click Provision User Accounts
17. Provisioning Ent App config (#2)
To configure provisioning, use credentials created in step #15
- access key ID -> clientsecret
- secret access key -> Secret Token
Change Provisioning Status to ON
18. Test Provisioning
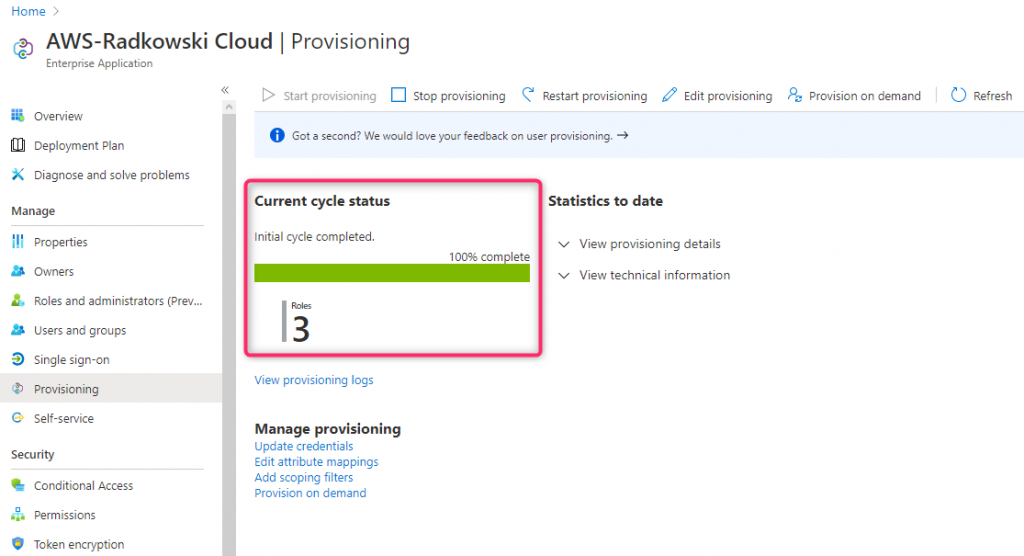
Confirm Provisioning Status: check if all roles created in step8 -12 has been provisioned successfully
19. Assign users/groups (#1)
Using Azure Console, create following users:
- Gabriel Angelos
- Apollo Diomedes
- Jonah Orion
- Isador Akios
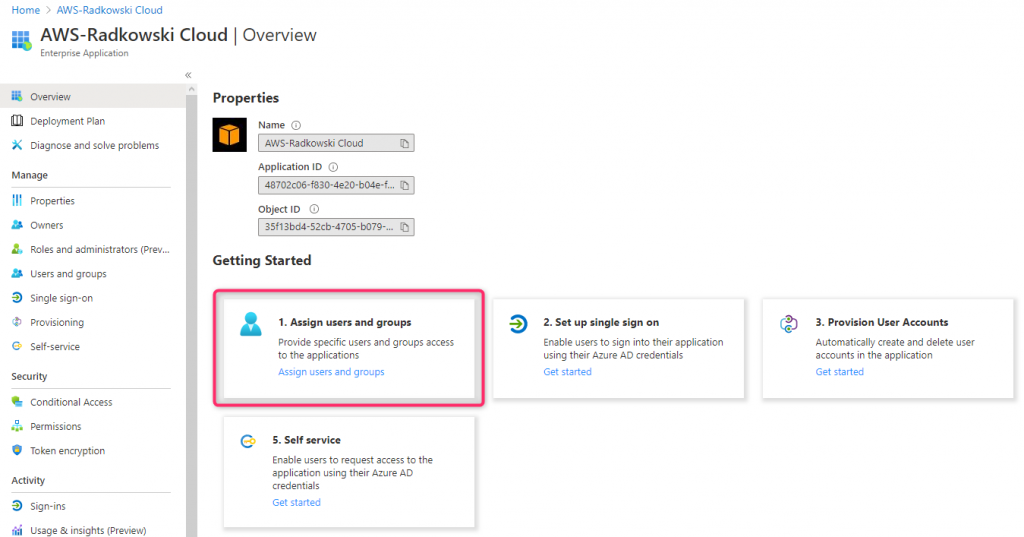
Next, come back to Enterprise Application created in step #1 and select Assign users and groups
20. Assign users/groups (#2)
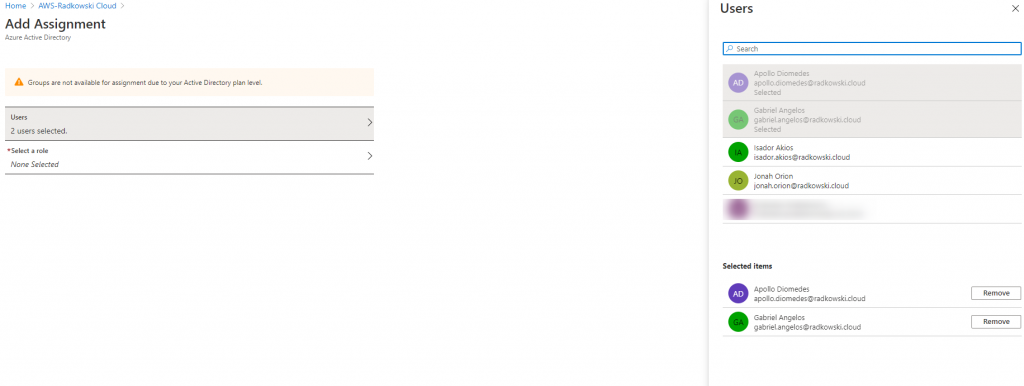
Select Add Assignment, then choose two users:
- Apollo Diomedes
- Gabriel Angelos
21. Assign users/groups (#2)
Select Roles, then choose AdministratorAccess role created in steps 8-12
22. Assign users/groups (#3)
Repeat step #21 and assign all users using following list:
- Gabriel Angelos: AdminAccess
- Apollo Diomedes: AdminAccess
- Jonah Orion: EC2Admins and S3ReadOnlyAccess
- Isador Akios: S3ReadOnlyAccess
Test Area
23. Test - AdminAccess Role (#1)
Open browser and go to My Microsoft Apps page using following link: https://myapps.microsoft.com
Sign in as Gabriel Angelos
24. Test - AdminAccess Role (#2)
Find Enterprise Application you have created in step #1, then click it
25. Test - AdminAccess Role (#3)
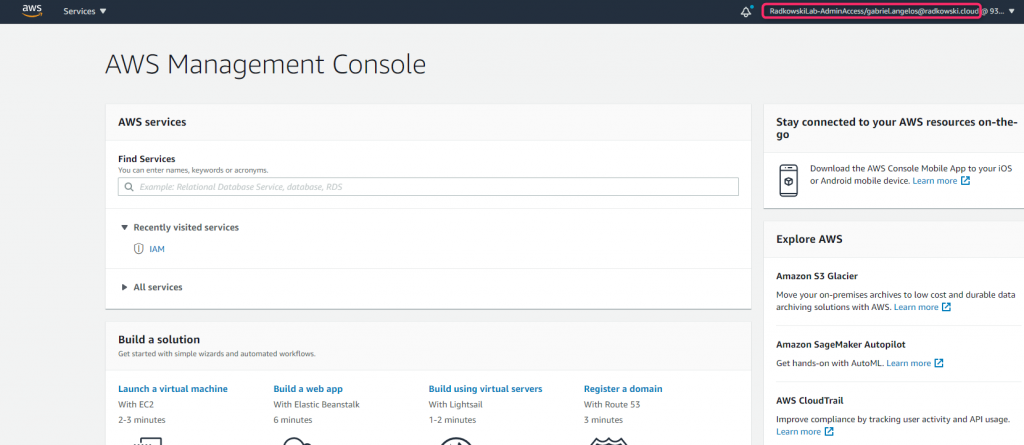
As Gabriel Angelos has only one role assigned, you will be redirected to AWS Console.
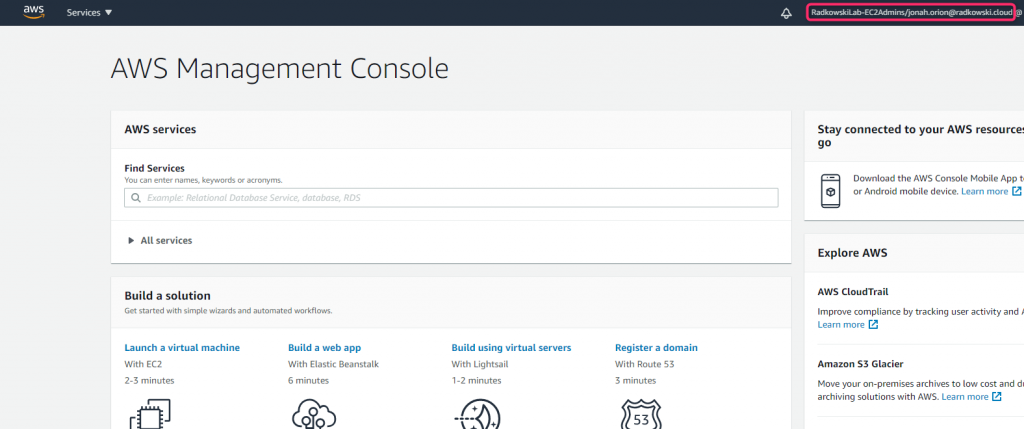
Role can be confirmed using information in top right corner of the Console.
26. Test - Multi-roles access (#1)
Repeat steps 23,24 but using Jonah Orion credentials. As multiple roles has been assigned to him , you will be redirected to AWS page to allow you to select proper one.
27. Test - Multi-roles access (#2)
Select EC2Admins role and confirm it using Console (right top corner).
28. Test - S3ReadOnly access (#1)
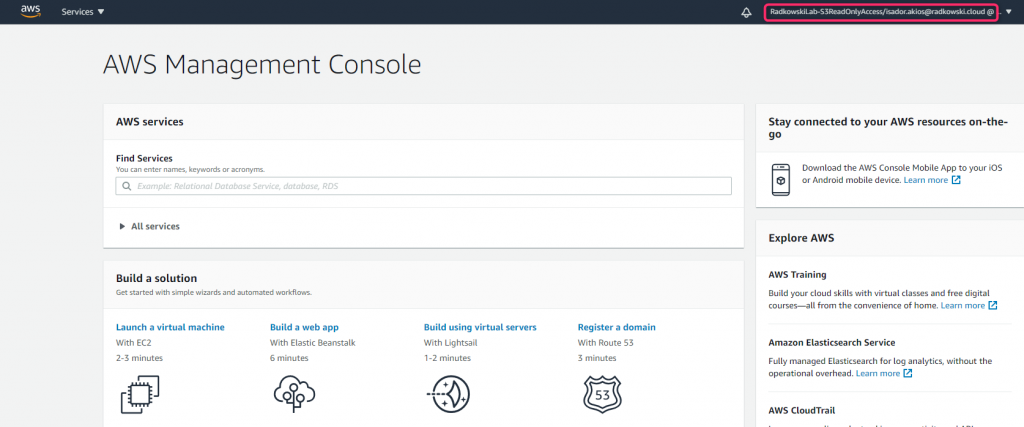
Repeat steps 23,24 but using Isador Akios credentials. You should be redirected to the Console with S3ReadOnlyAccess role

